Tutorial 4: Transfer Video to Mac or PC
Although OSnap! allows you to share videos with YouTube, Facebook and Email, you may just want to move the videos you create directly to your home computer. For the purposes of this tutorial we will assume you already know how to create a video (if that is not the case see Tutorial 3: Create and Share a Video) and, as an example, we will use the video we created in Tutorial 1: Time-Lapse - Union Square.
Step 1: Locate Your Video and Save it to Your iOS Photos App
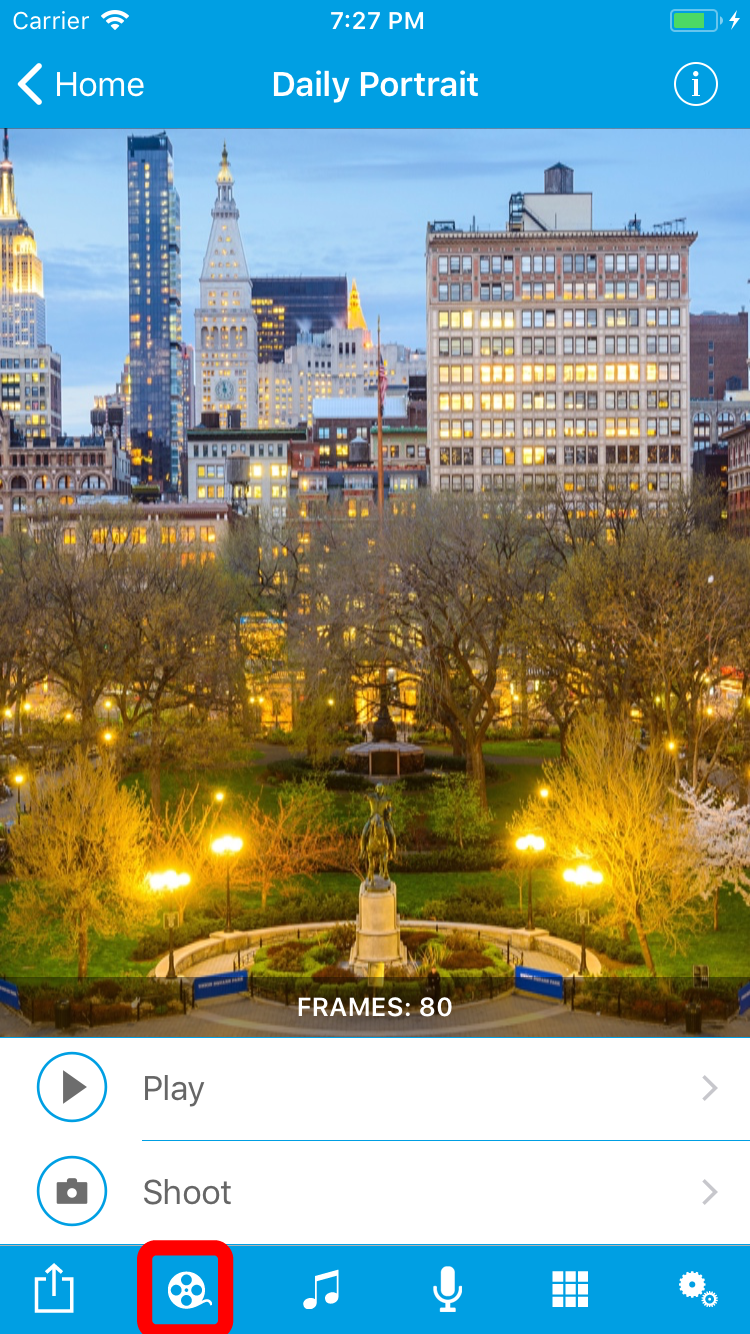
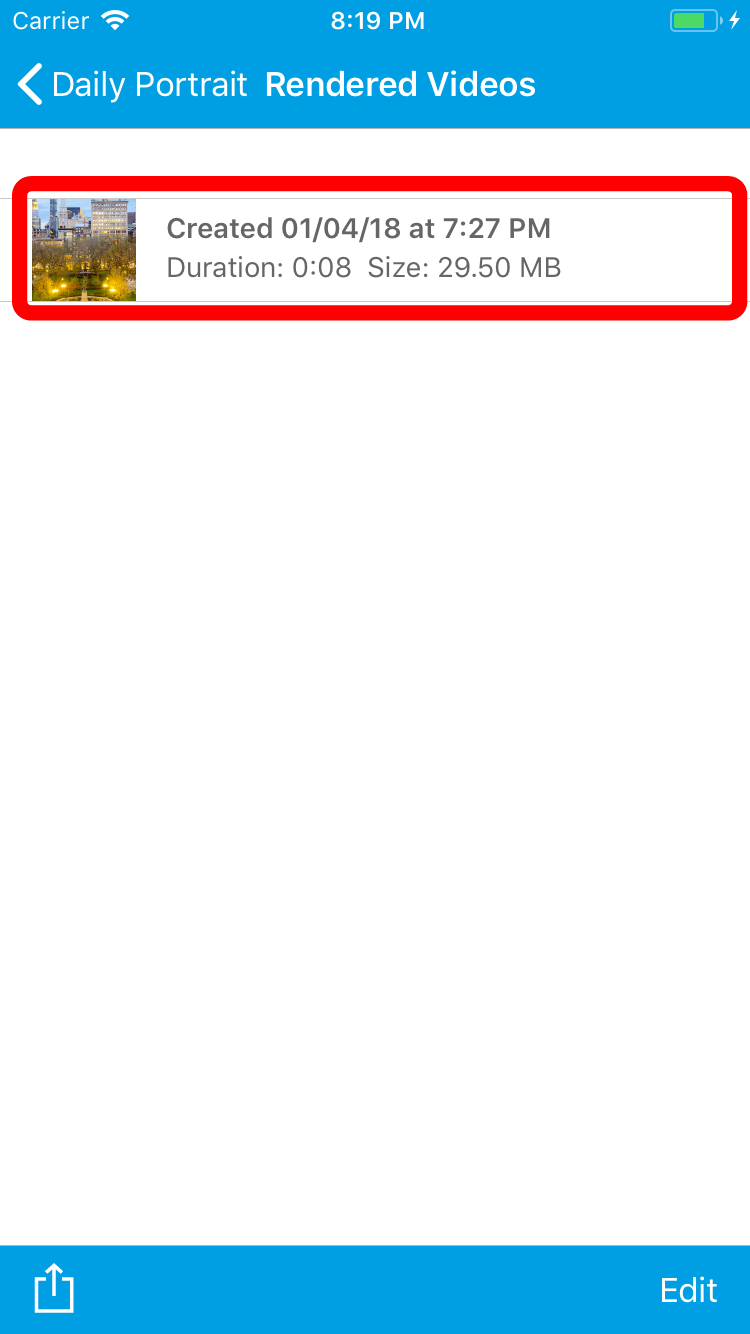
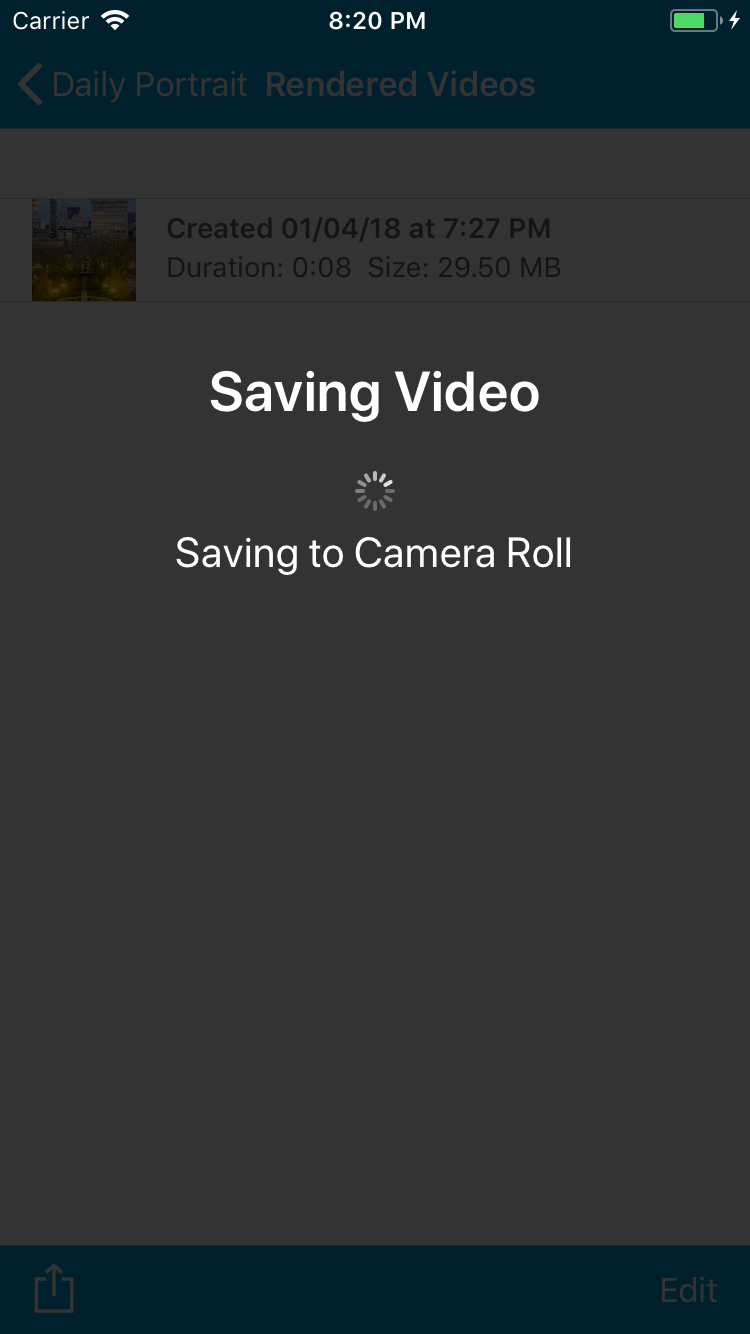
- Navigate to your Project Summary screen. Tap the 'Film Reel' icon which will take you to the Rendered Videos screen. All videos that you create over a project's lifetime can be found here. Select the video you would like to transfer
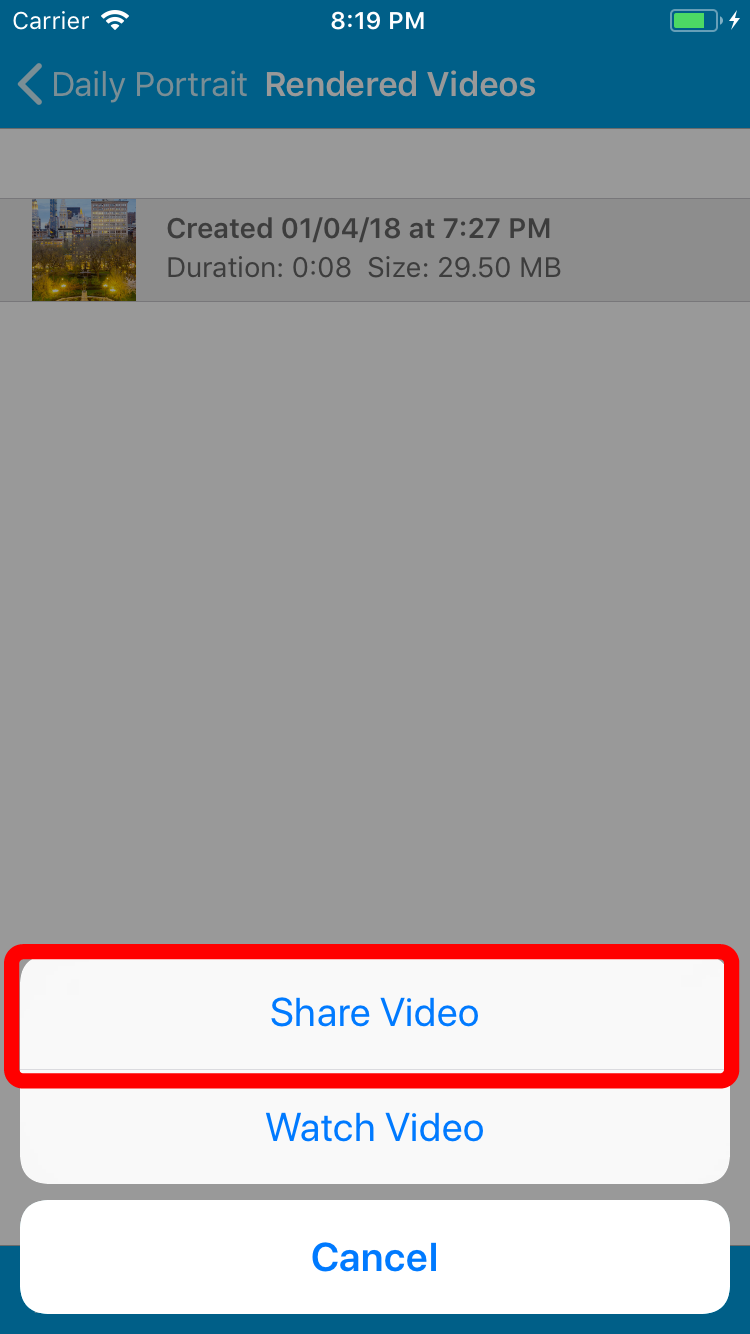
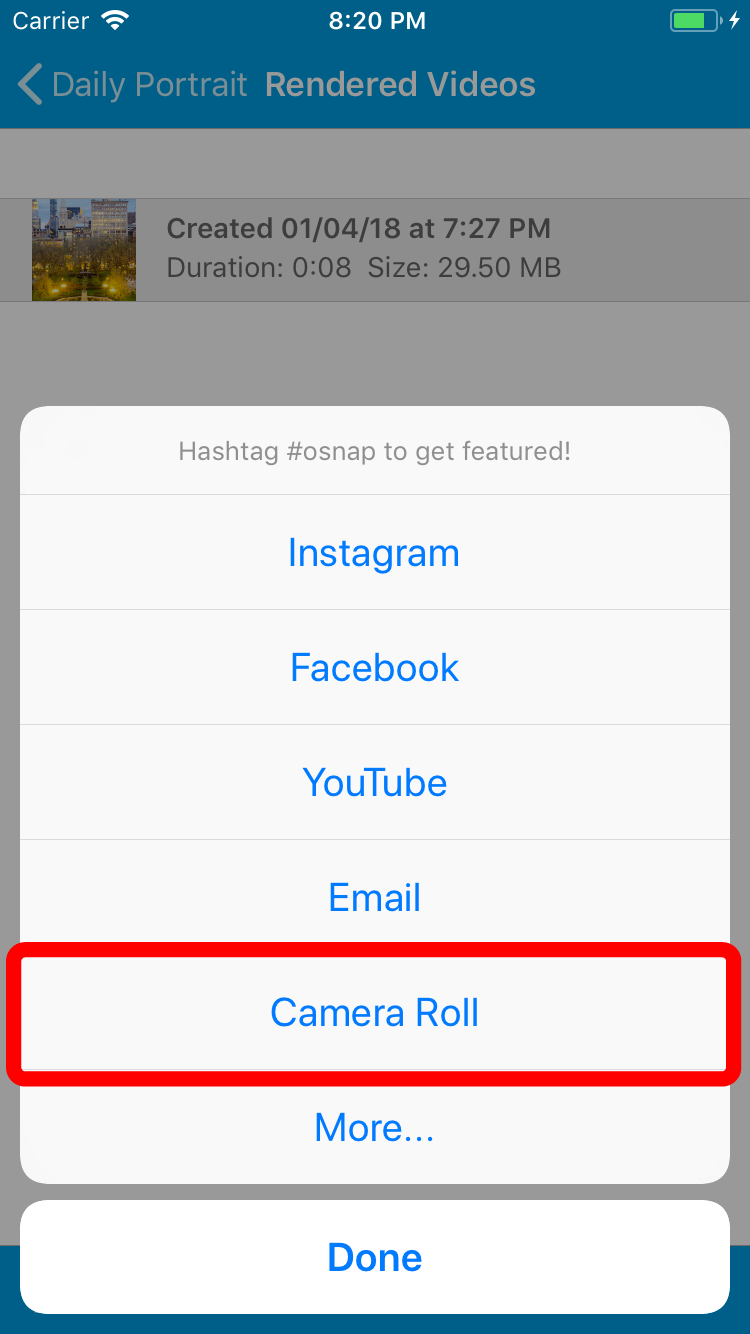
- A popup menu appears: choose 'Share Video'. Another menu appears: choose 'iOS Photos'
- OSnap! will now begin saving your video to your iOS Photos app. Once complete, you can verify the video has been succesffully saved by closing OSnap! and navigating to your 'Photos' application, opening it and locating your newly saved video

Step 2: Move Video from Your iOS Photos App to Computer
- Plug your device into your computer's USB
- Mac: If you are a Mac user you can open the application called 'ImageCapture' which you can use to import your video onto your computer
- PC: If you are using a PC (Windows) make sure your device is plugged in and open My Computer; you should see your device listed as one of the items; double click on it and you should see a folder that contains your images and video. Locate your video and copy it to your computer