Tutorial 1: Time-Lapse - Union Square
Let's say you just arrived at Union Square in New York City, and you want to create a time-lapse project.
Step 1: Create a New Project
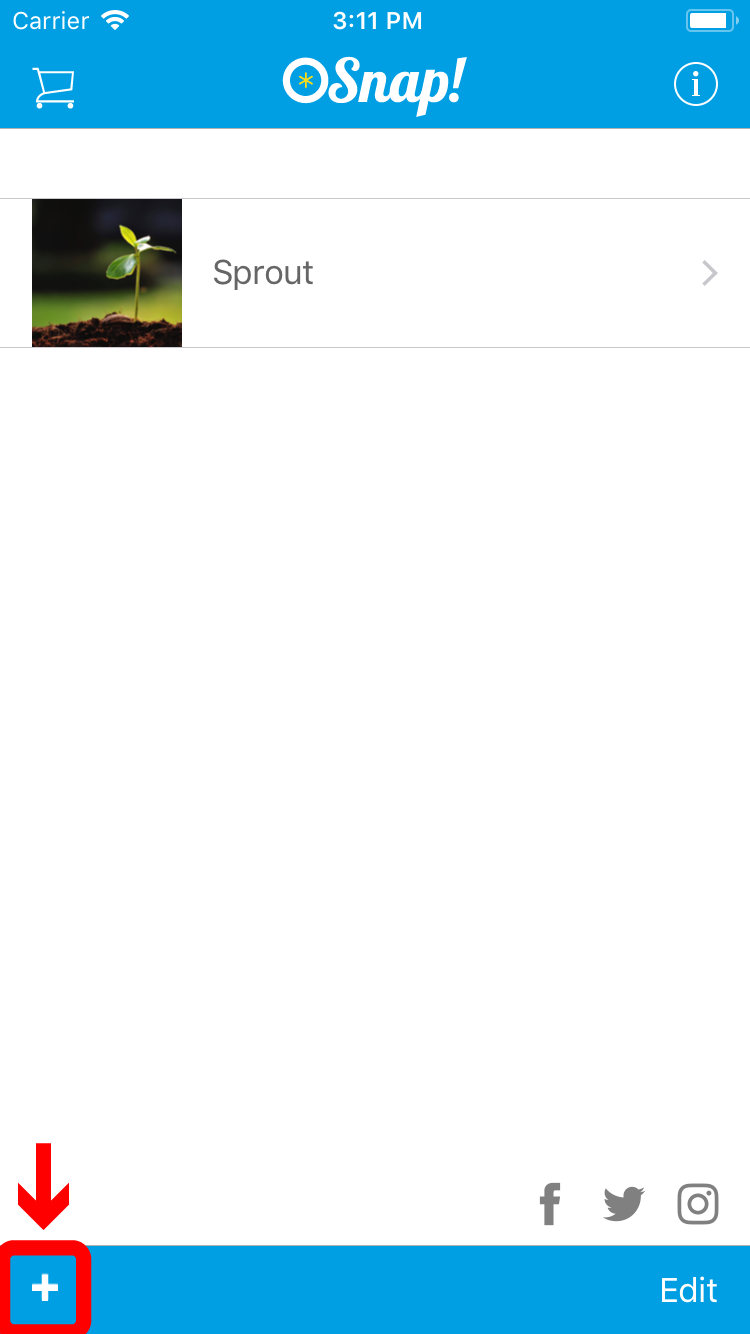
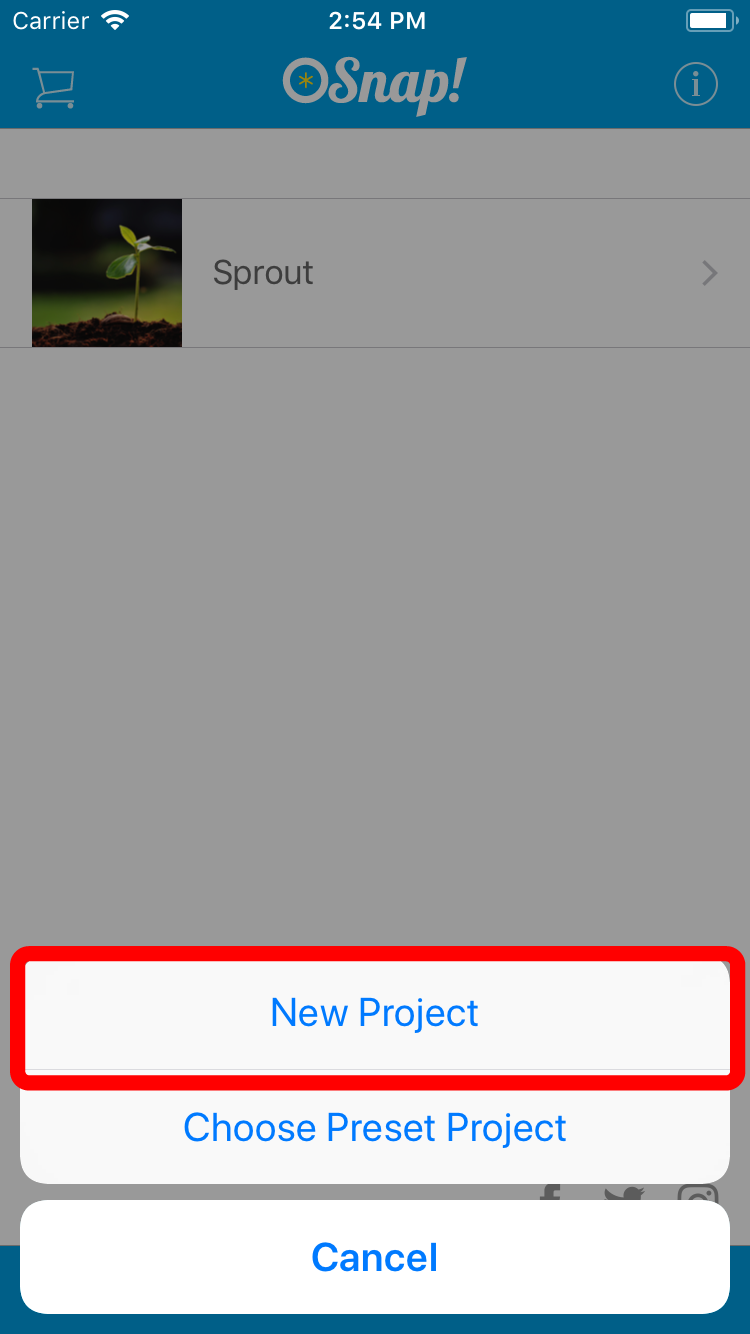
- From the home screen of OSnap!, tap the '+' icon on the bottom left
- A popup menu will appear: choose 'New Project'
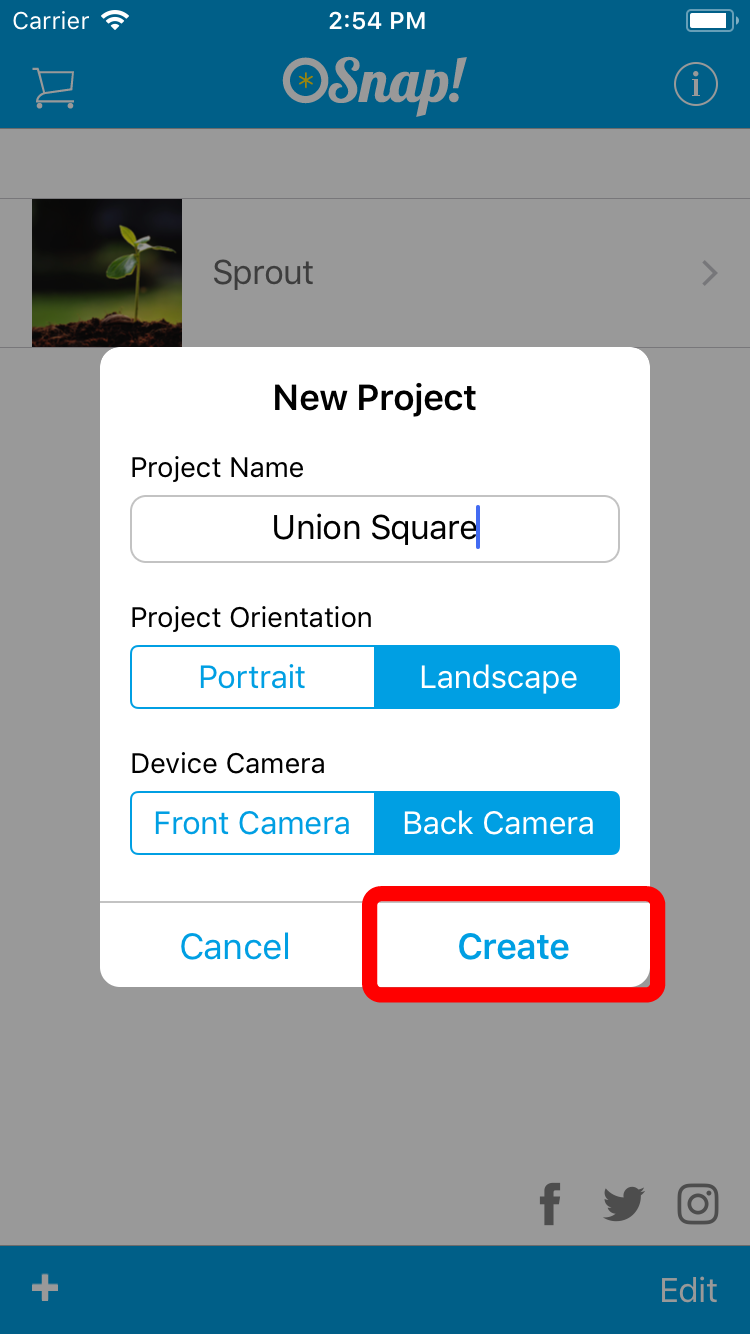
- A 'New Project' dialogue will appear asking you to enter your new project's name. Let's call this project 'Union Square'. Select 'Landscape' and 'Back Camera' if they are not already selected (note: these parameters can be changed at any time during the life of your project). Tap 'Create'.
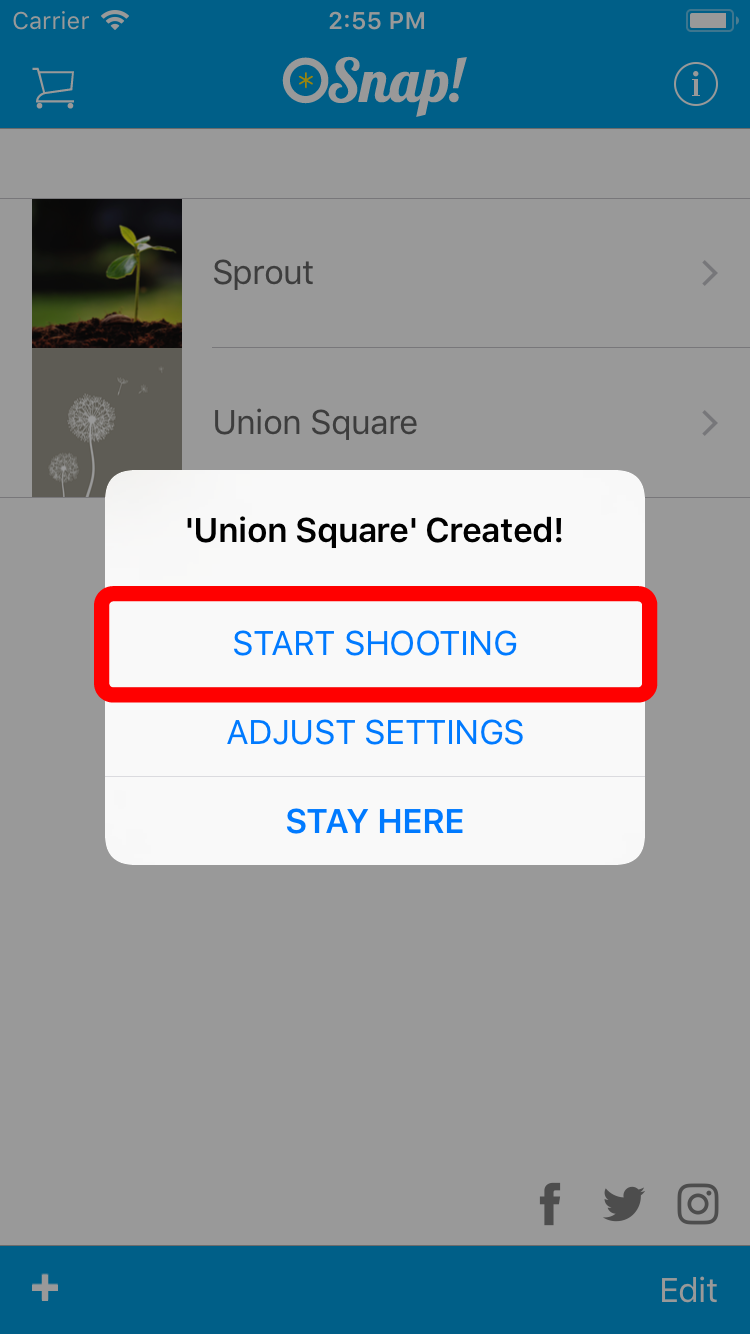
- A popup will appear letting you know you have successfully created the project. Tap 'START SHOOTING'. You will be take directly to the camera screen
Step 2: Shoot
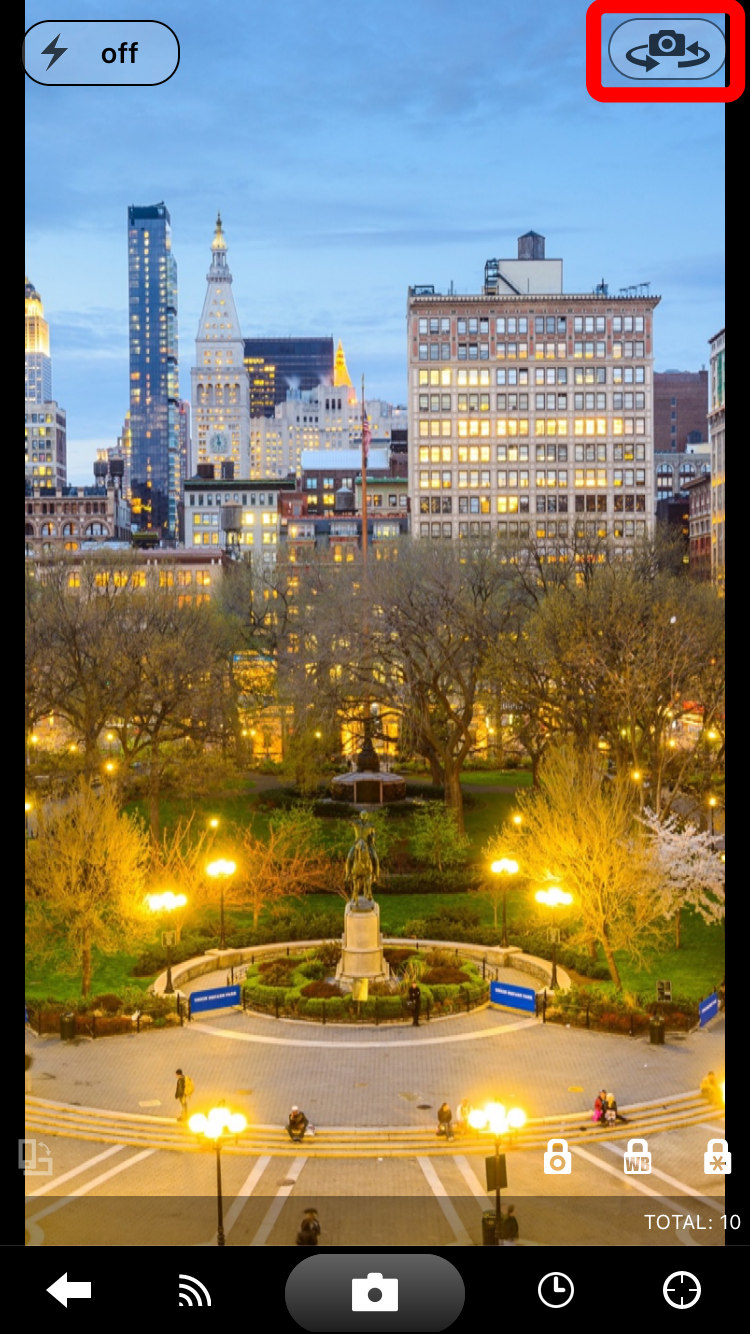
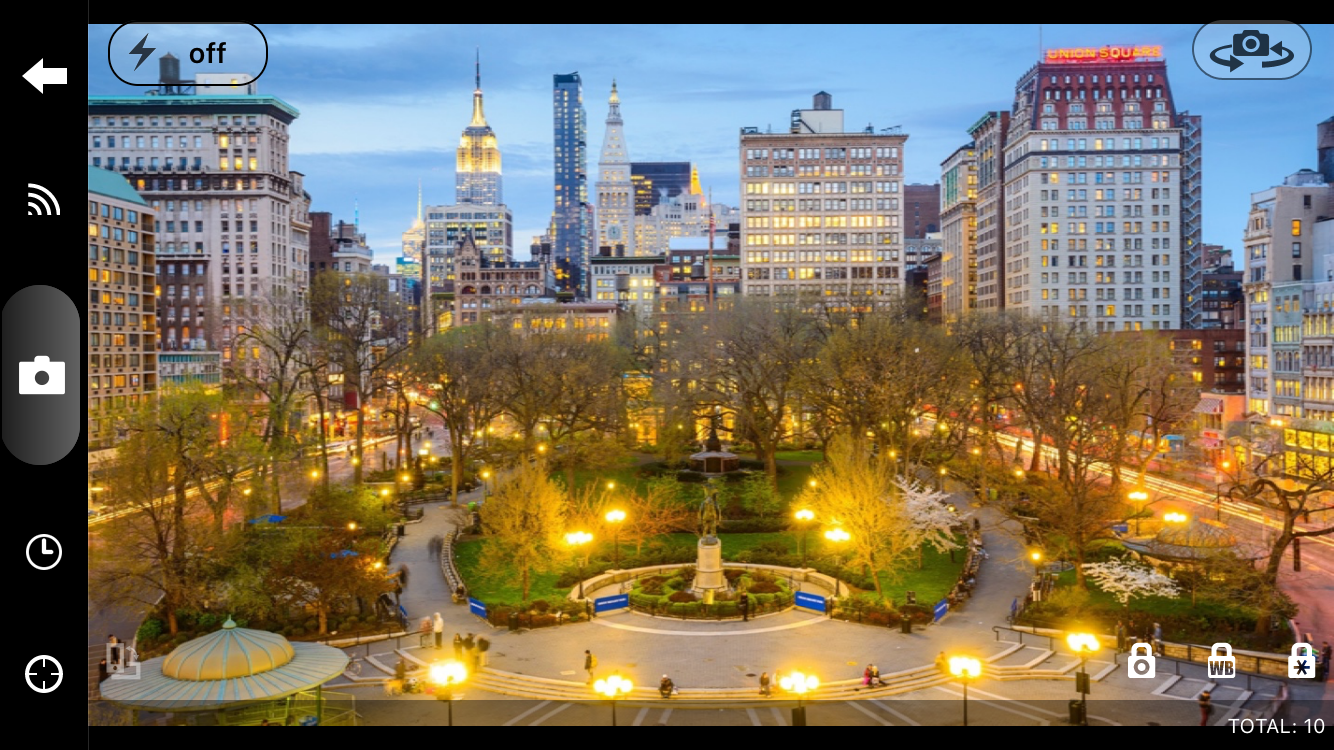
Having created a project, you are now ready to start shooting. Find a spot where you can get a well composed shot of Union Square with your device camera.
- Your device should be set to use the back camera. If it is not, you can toggle between front and back cameras by tapping the 'Camera Swap' icon in the upper right.
- Rotate your device. You should see the OSnap! buttons and controls adjust to the rotation. You will now be shooting landscape photos.
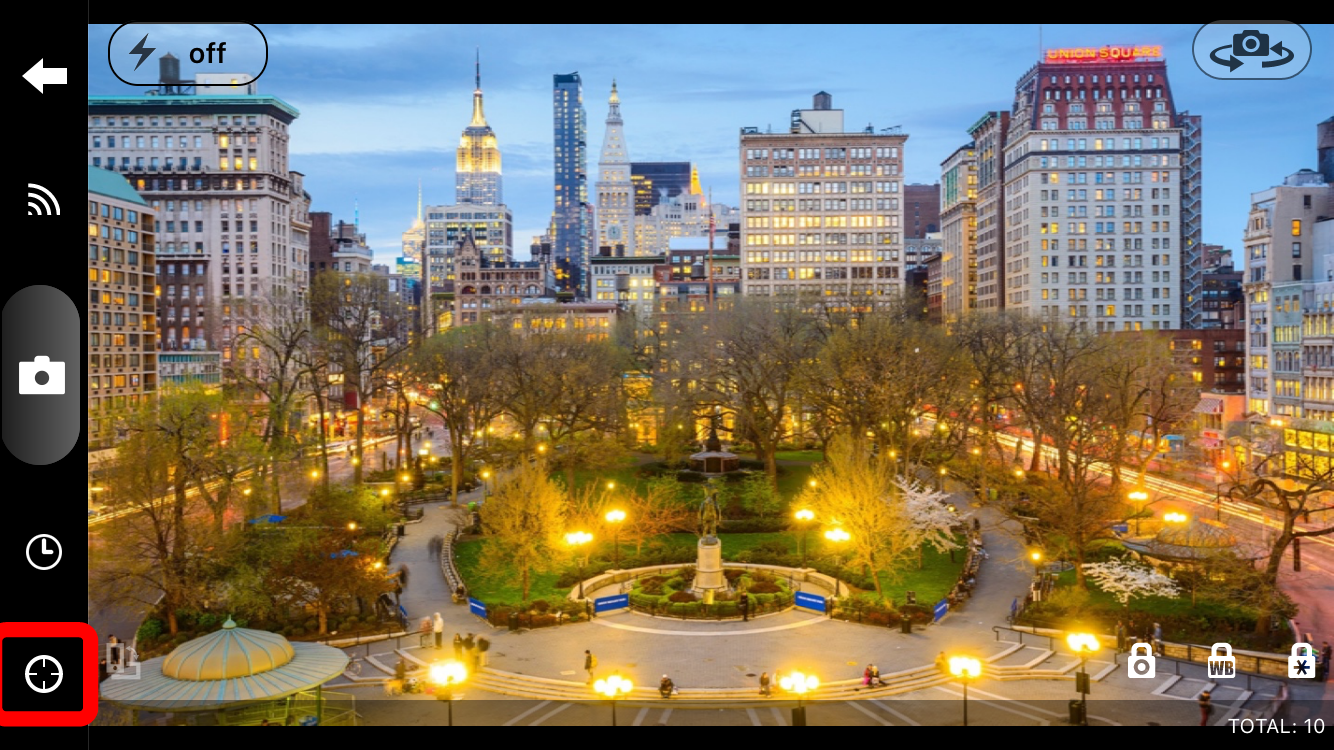
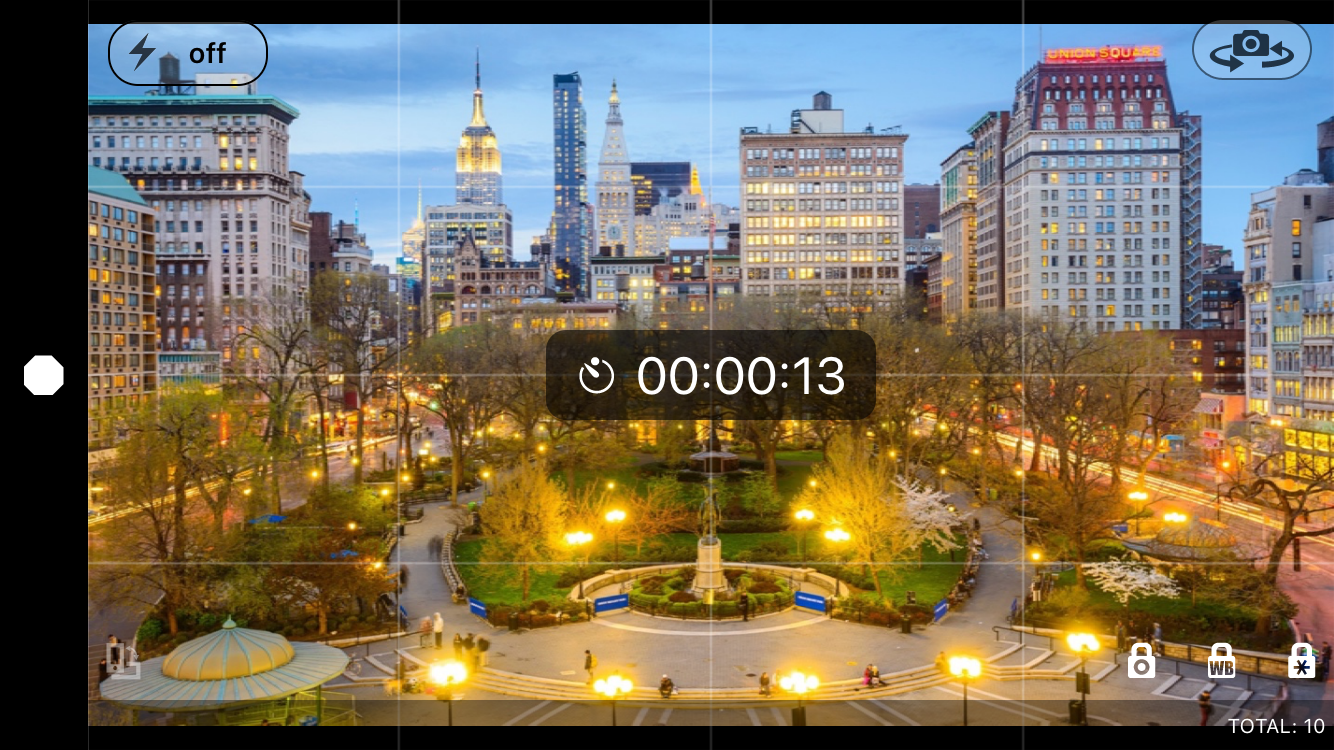
- Let's add the 'Grid' overlay so we can insure the camera is level during the shoot. Tap the 'Crosshairs' icon on the toolbar. You will be taken to the 'Target Overlays' screen
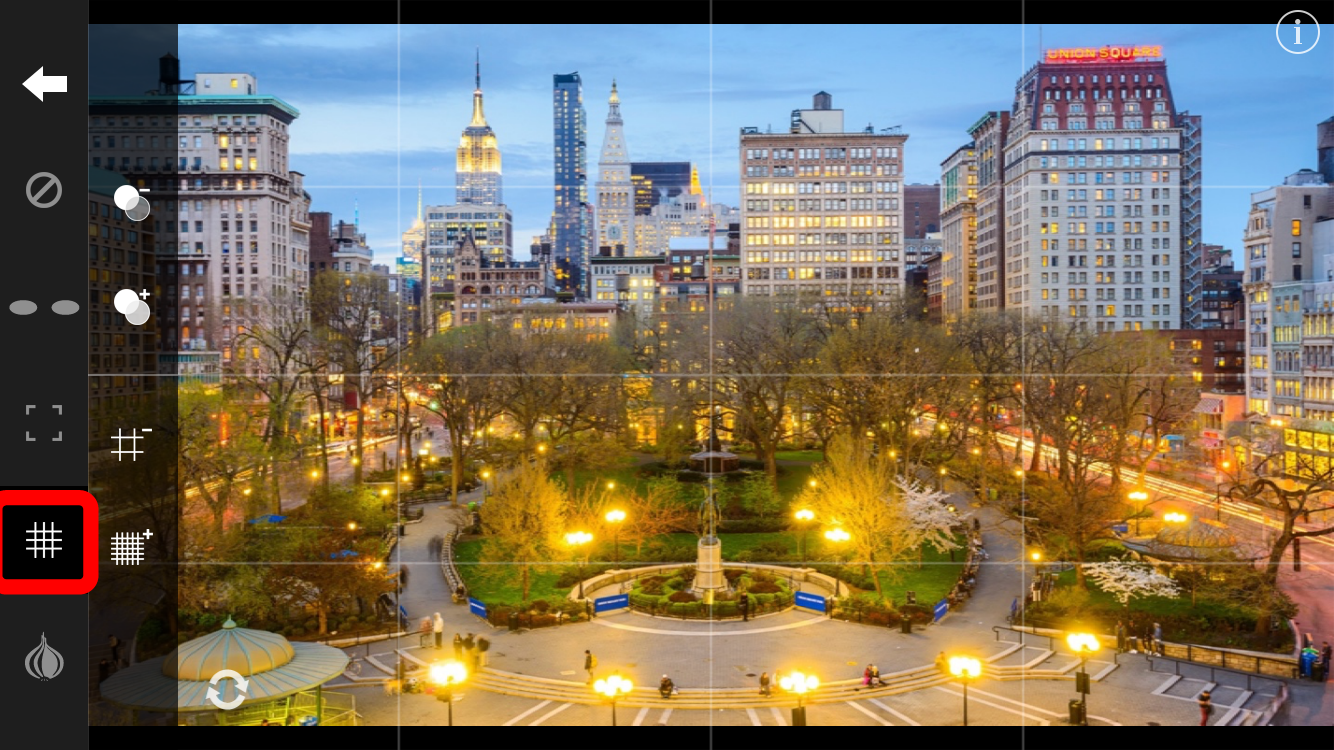
- On the toolbar tap the 'Grid' icon. You should now see a 'Grid' superimposed over the image
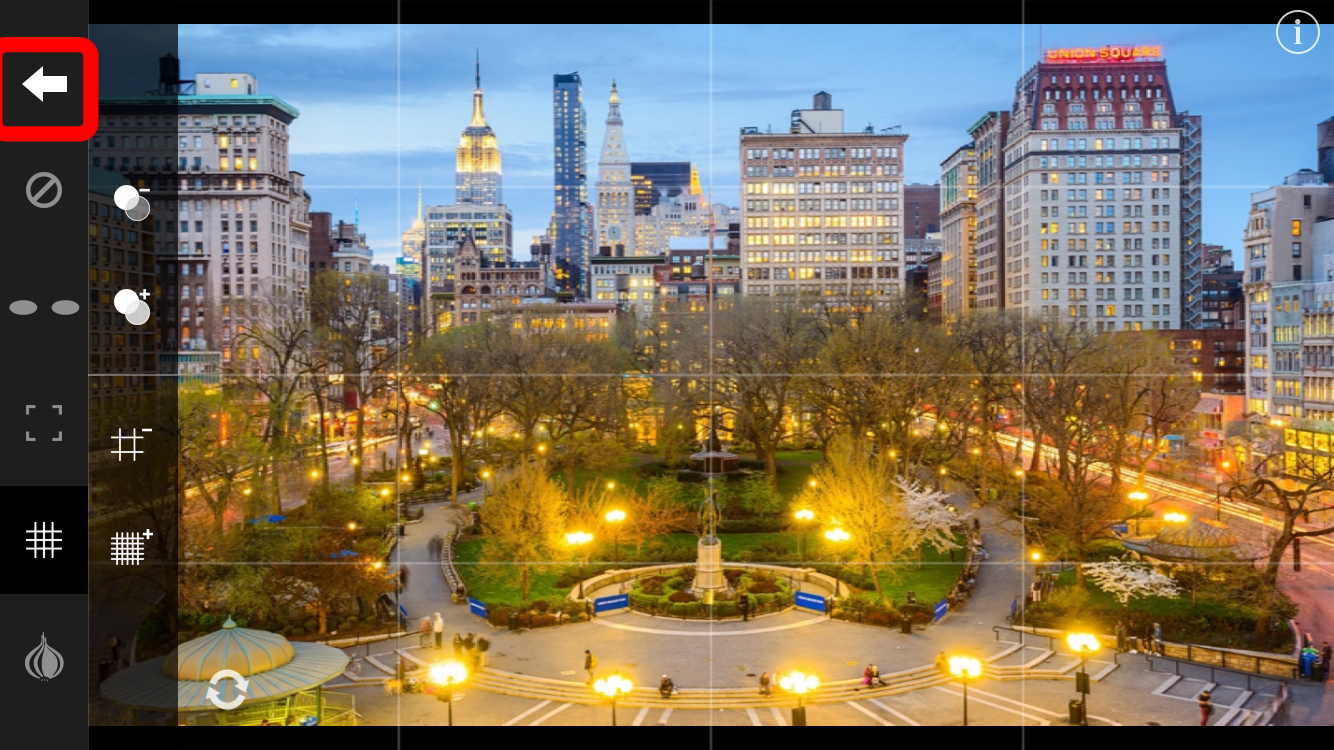
- Click the 'Back Arrow' icon on the toolbar to return to the camera screen
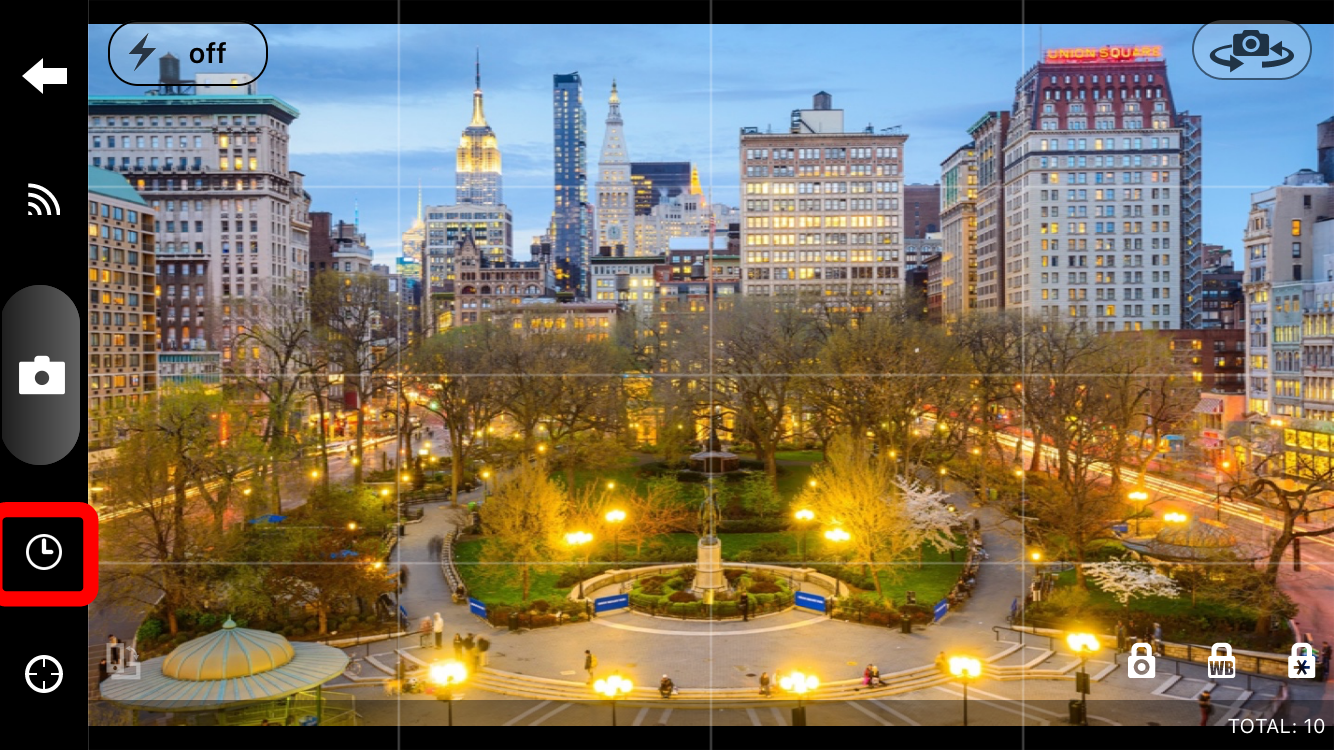
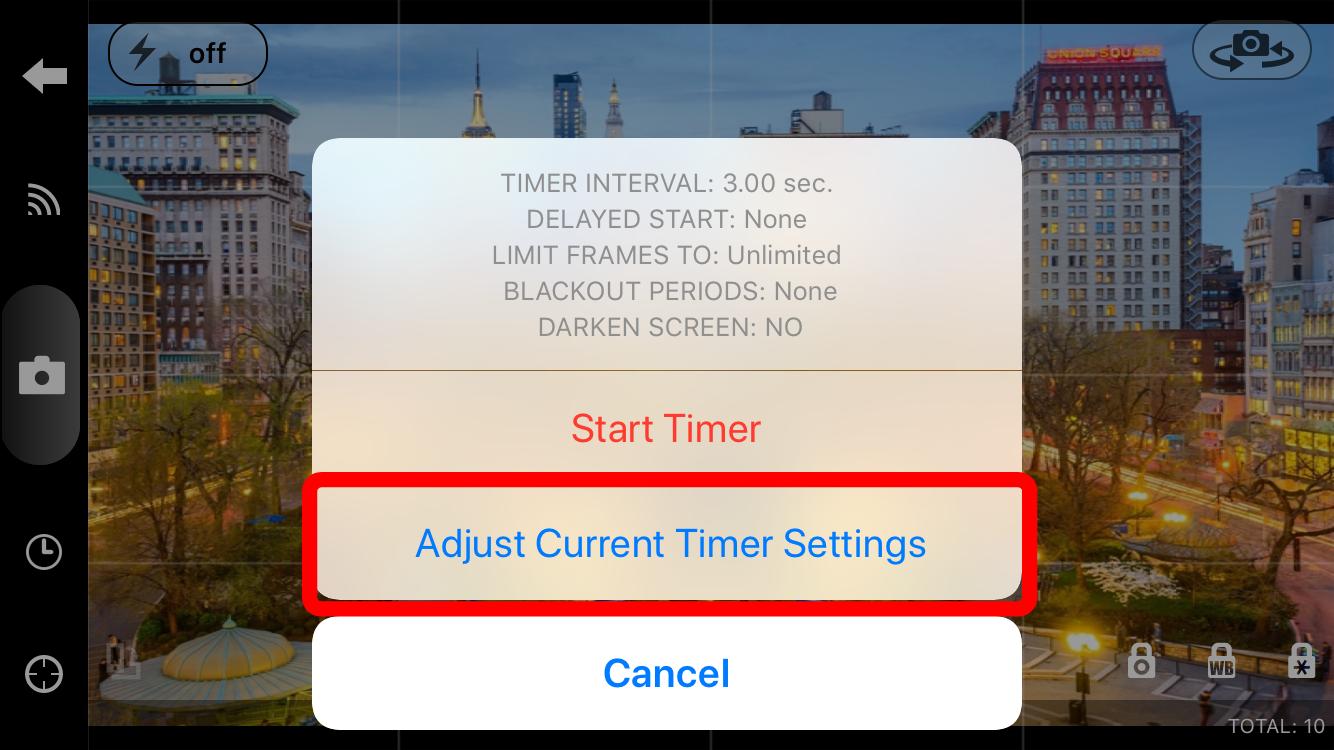
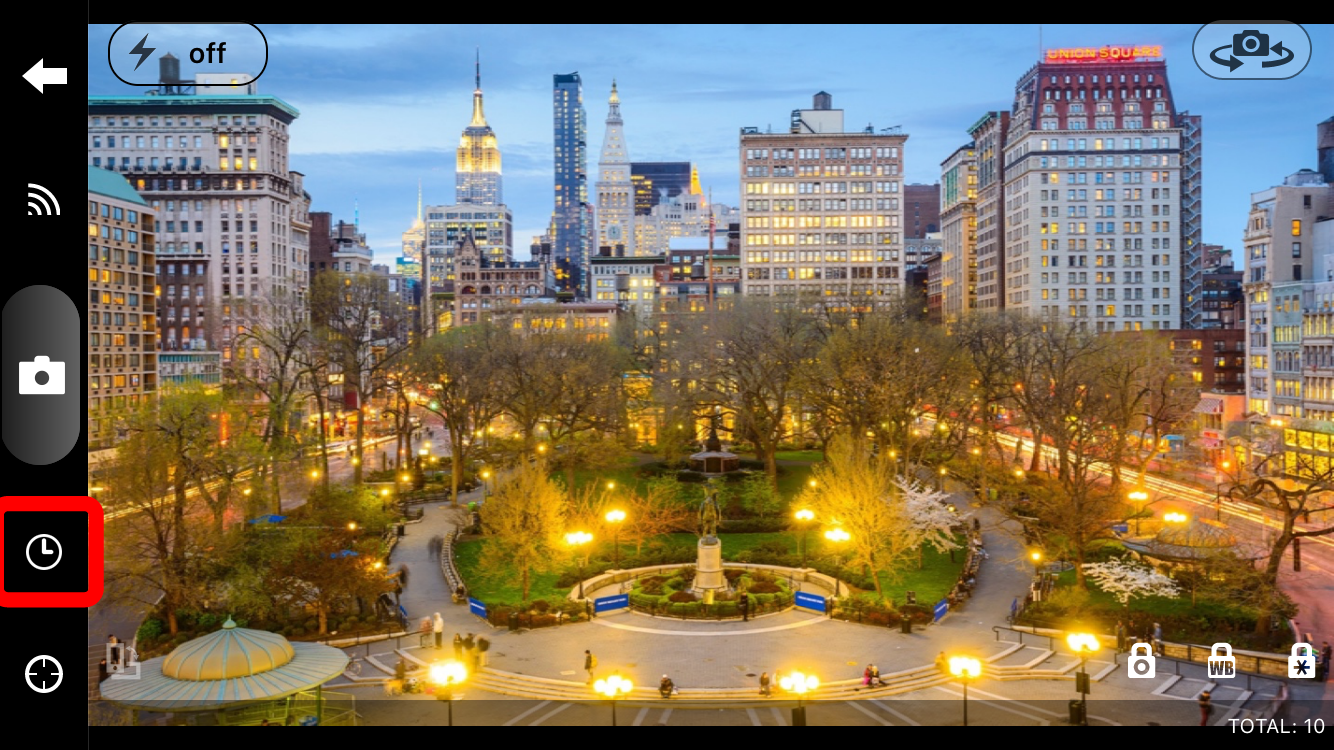
- We are going to change the timer interval to 4 seconds for this project, meaning OSnap! will automatically take a picture of the park every 4 seconds. Tap the 'Clock' icon on the toolbar and choose 'Adjust Current Timer Settings' from the popup menu
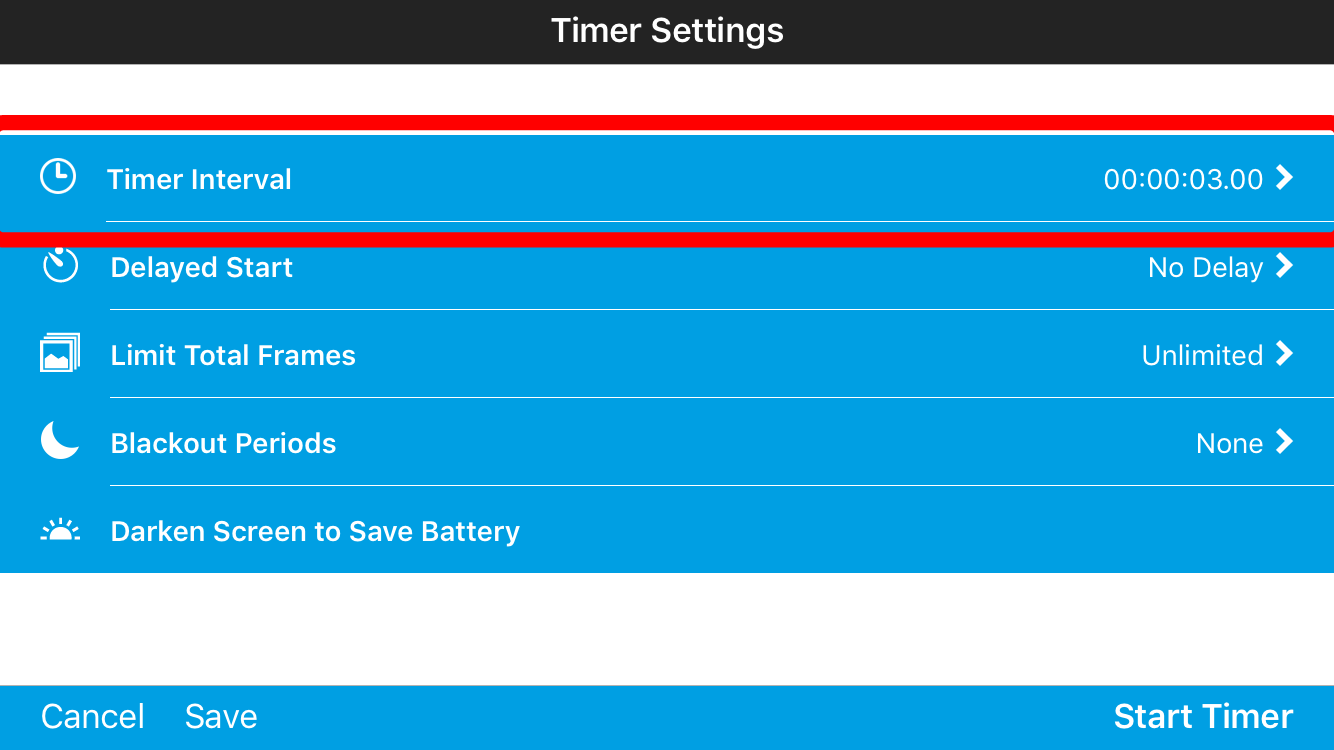
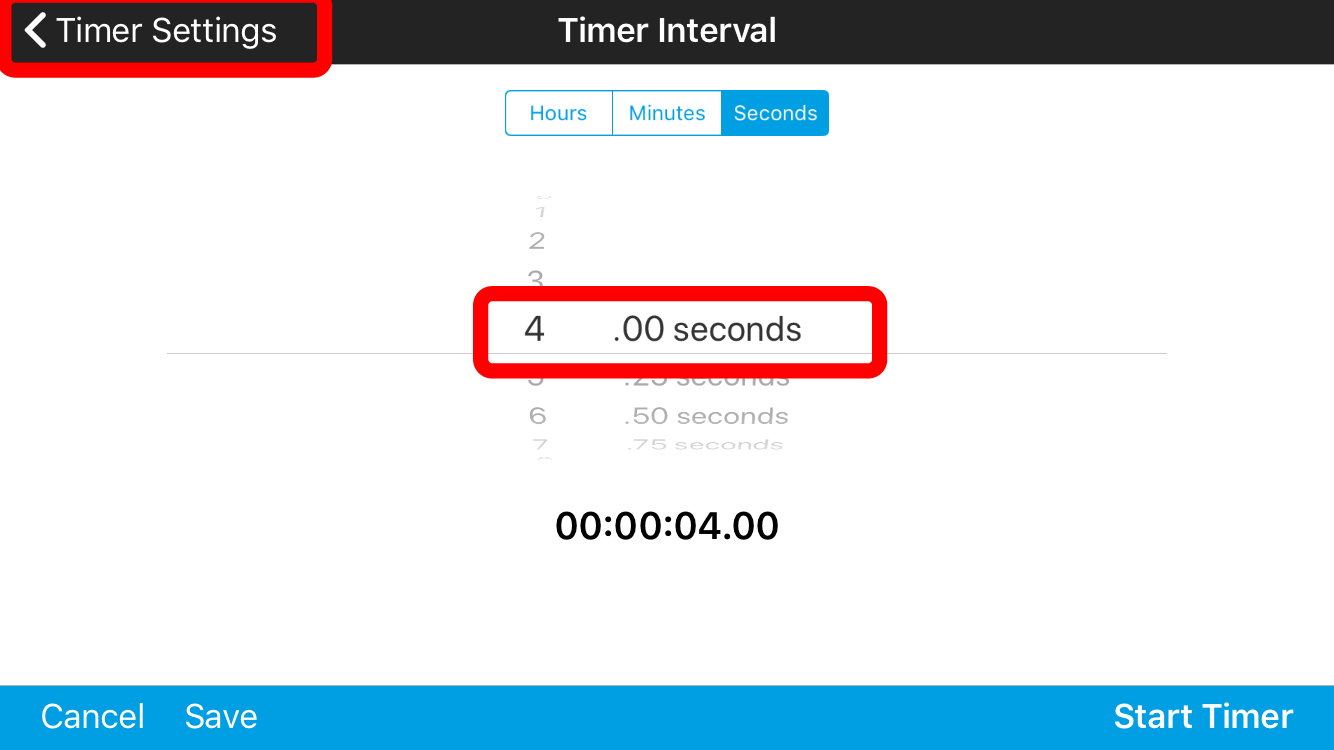
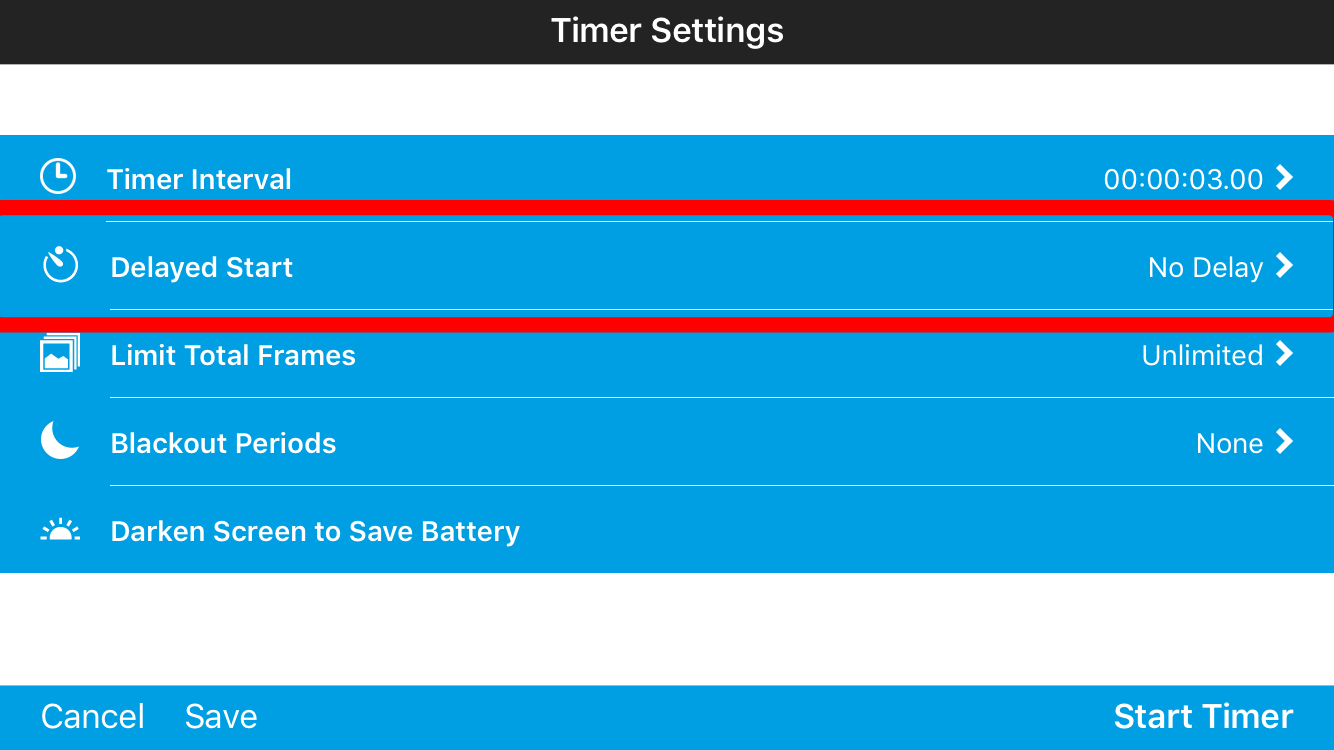
- From the Timer Settings menu choose 'Timer Interval'. From the Timer Interval screen adjust the Timer Interval Picker to specify a 4 second interval. Tap the 'Timer Settings' navigation button in the upper left to return to the 'Timer Settings' screen
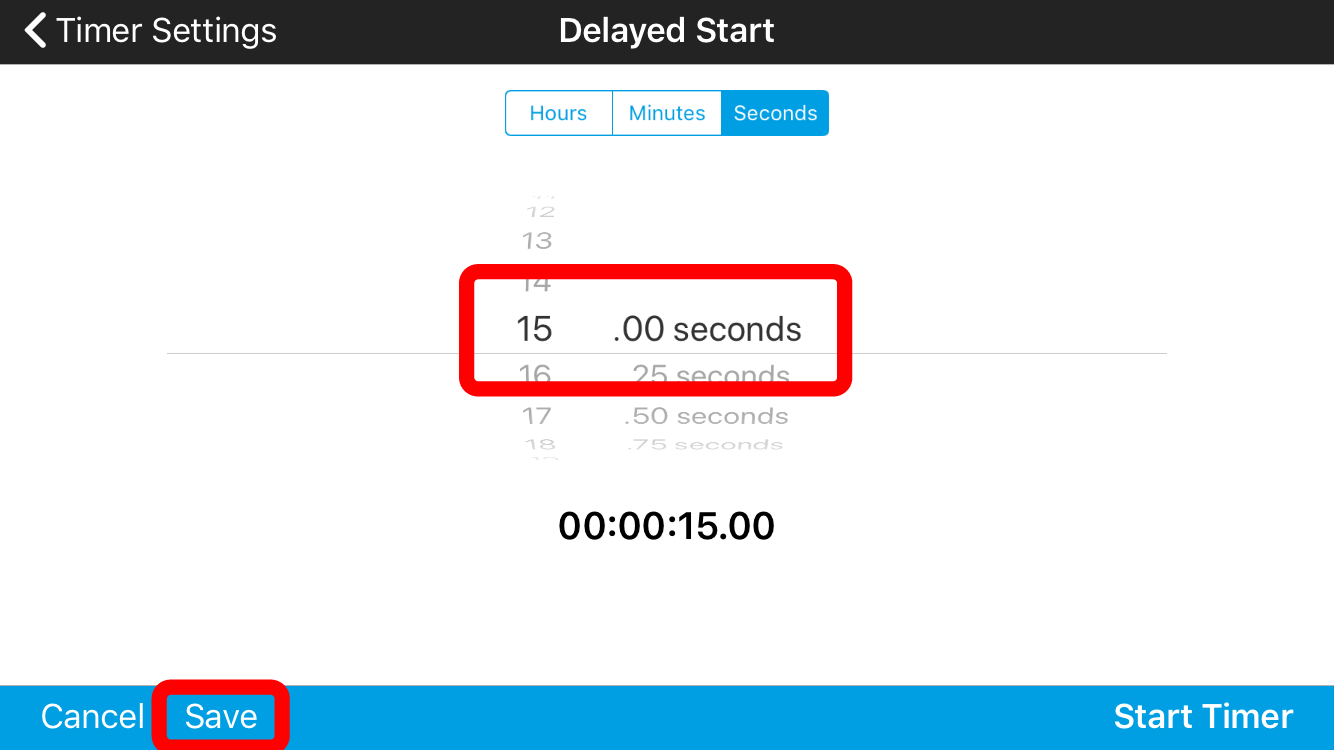
- Let's suppose now that you would like to delay the start of your timed photo session so that you can make any last minute adjustments to the position of the camera before the photo timer starts. From the 'Timer Settings' screen choose 'Delayed Start'. Set the delay for 15 seconds. Let's hold off on the shoot for a moment so we can return to the camera screen and make sure the shot is in place. Tap 'Save' in the lower left to save your settings
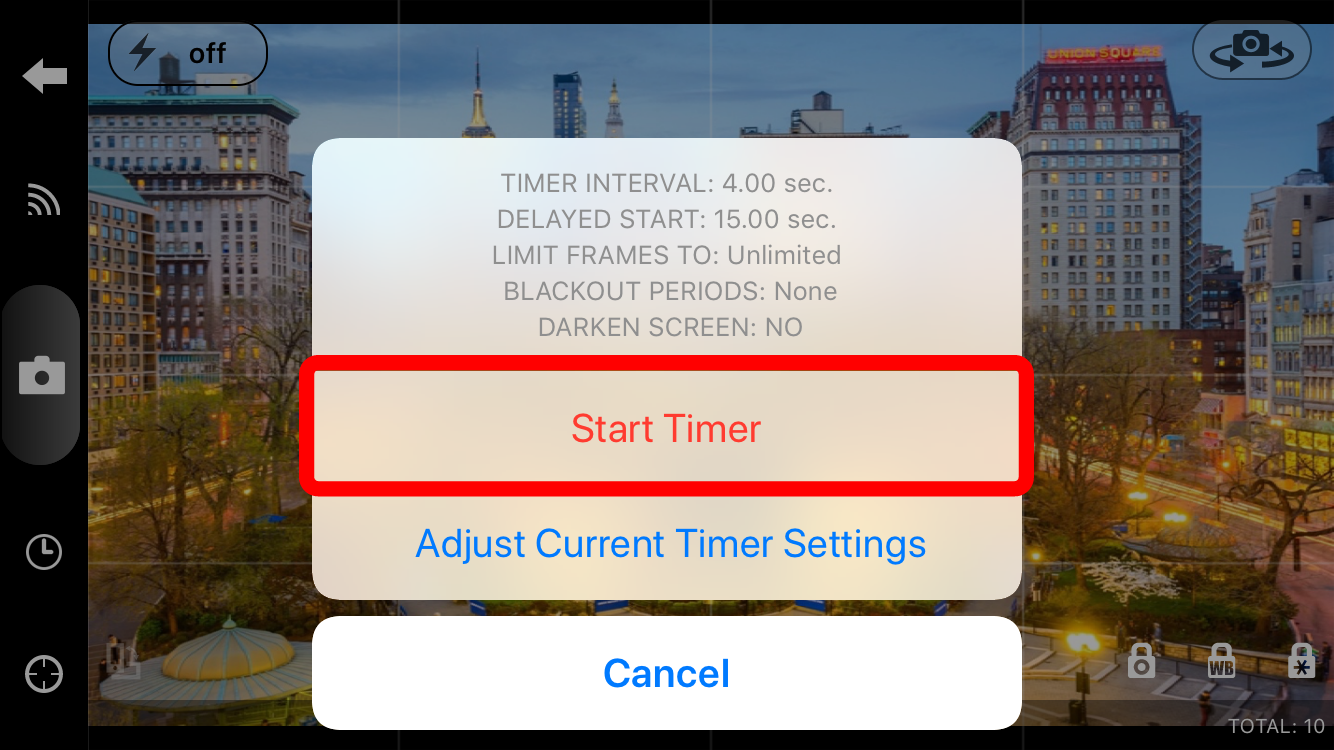
- Now that you have configured your timer settings and delayed start, you are ready to start your timer to begin the shoot. Tap the 'Clock' icon and choose 'Start Timer'. The delayed start will begin to count down; use your remaining time to make any last minute adjustments to the position of your camera. Once the delayed start countdown has reached zero, OSnap! will beginning snapping photos
- Allow your timed photo session to continue for as long as you would like. OSnap! will continue to take photos until you stop the session or your device runs out of batteries. Even if system notifications appear OSnap! will attempt to continue taking photos regardless (that said, it is not a bad idea to put your device in 'Airplane Mode' during long shoots and turn off all system notifications and alerts). When you are ready to stop shooting tap the 'Stop' icon on the toolbar

Step 3: Playback
Now that you have completed your photo sequence you are ready to enjoy the fruits of your labor.
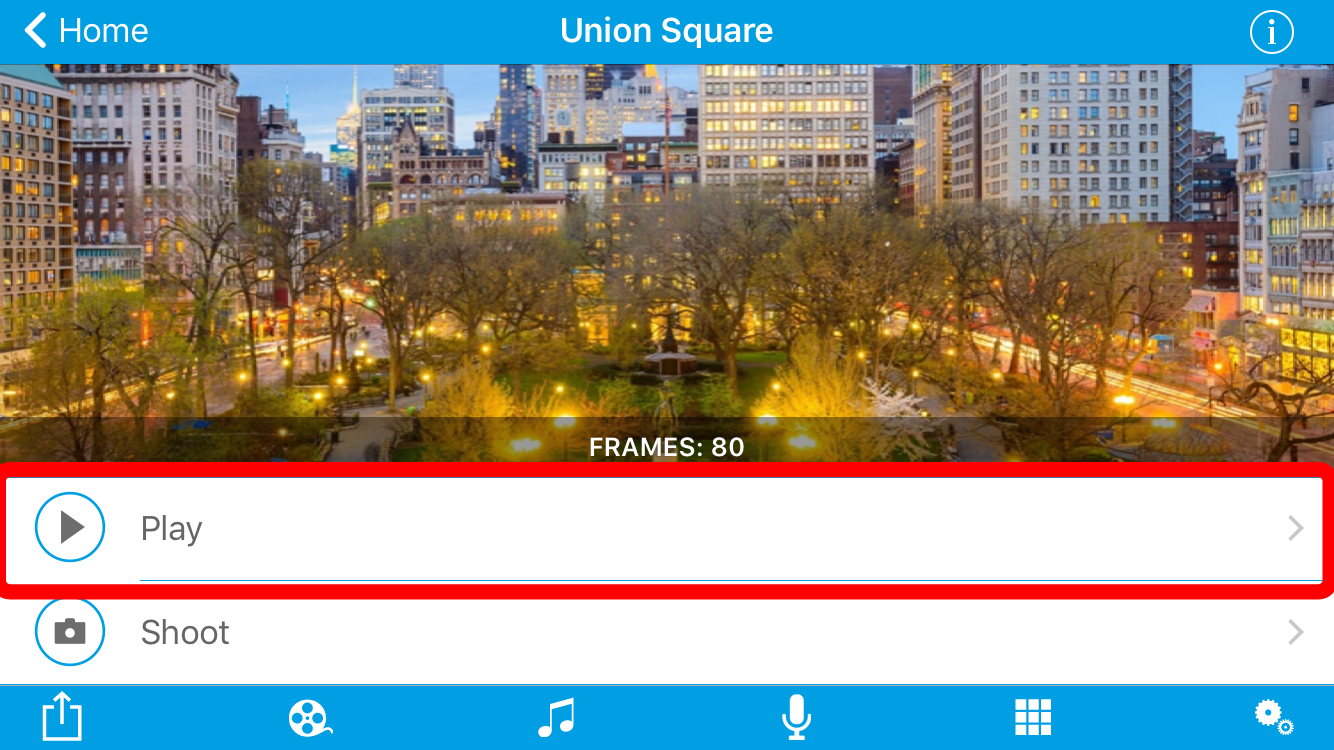
- Tap the 'Back Arrow' icon on the toolbar which will take you to your Project Summary screen. From the Project Summary screen tap 'Play'. You are taken to the Playback screen where your time-lapse sequence will immediately begin playback
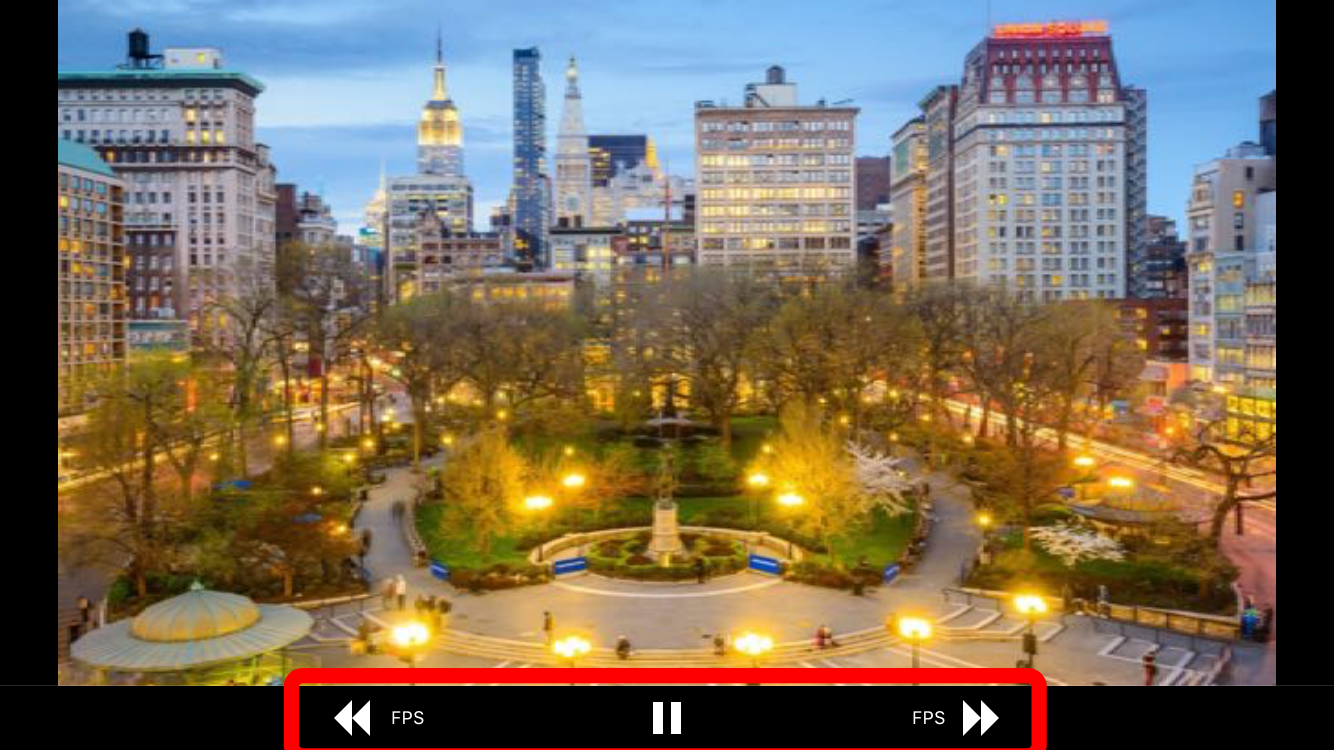
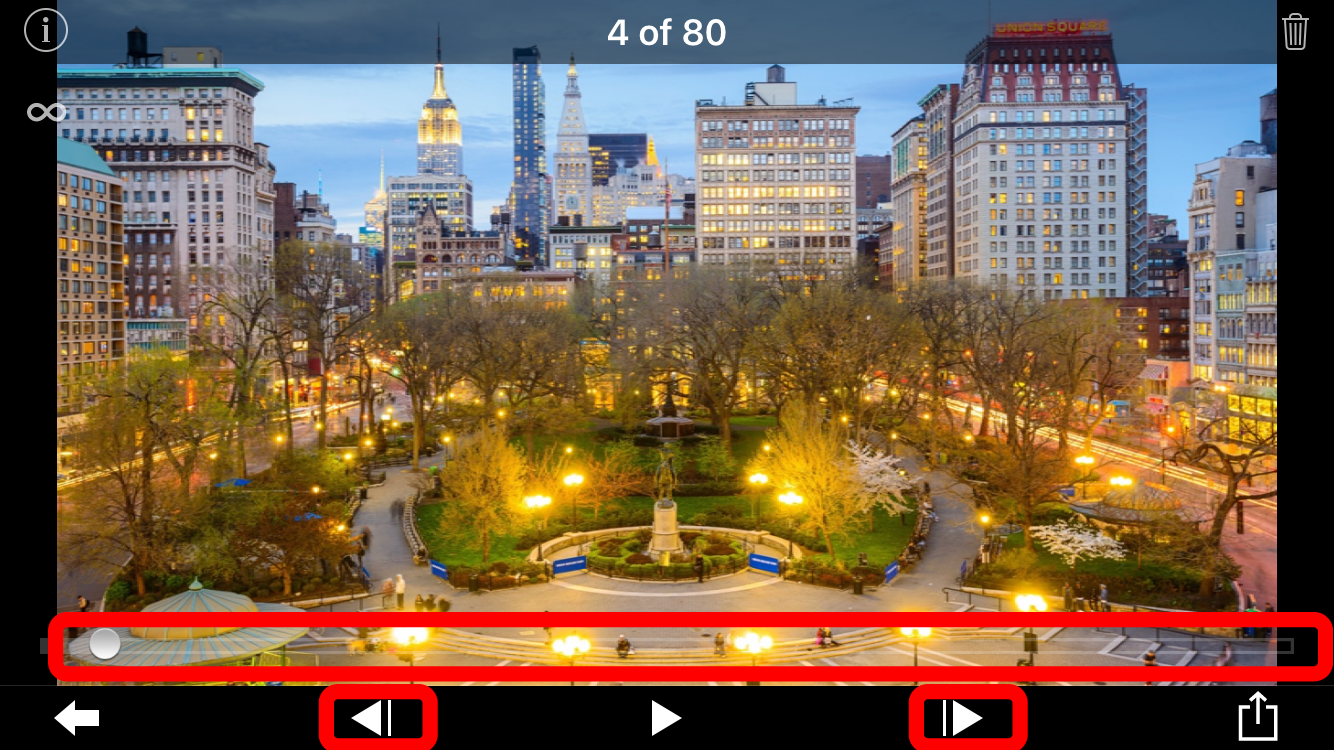
- On the Playback screen use the arrow buttons on the toolbar to speed up or slow down your playback frames per second. To pause playback tap the 'Pause' icon. After pausing playback use 'Next/Previous' arrows and 'Scrub Bar' to navigate through images
- Congratulations! You have successfully created your first time-lapse project. If you would like to learn how to create a video of your time-lapse and share it with friends, please see Tutorial 3: Create and Share a Video