Tutorial 2: Time-Lapse - Daily Self Portrait
Let's say you want to snap a photo of yourself every day with your face in the same position so that you can watch yourself change over time. (As a side note, be aware that you can automatically create a 'Daily Portrait' project from the OSnap! 'Preset Projects' options, but for the purposes of this example we are going to create the project manually). Let's get started.
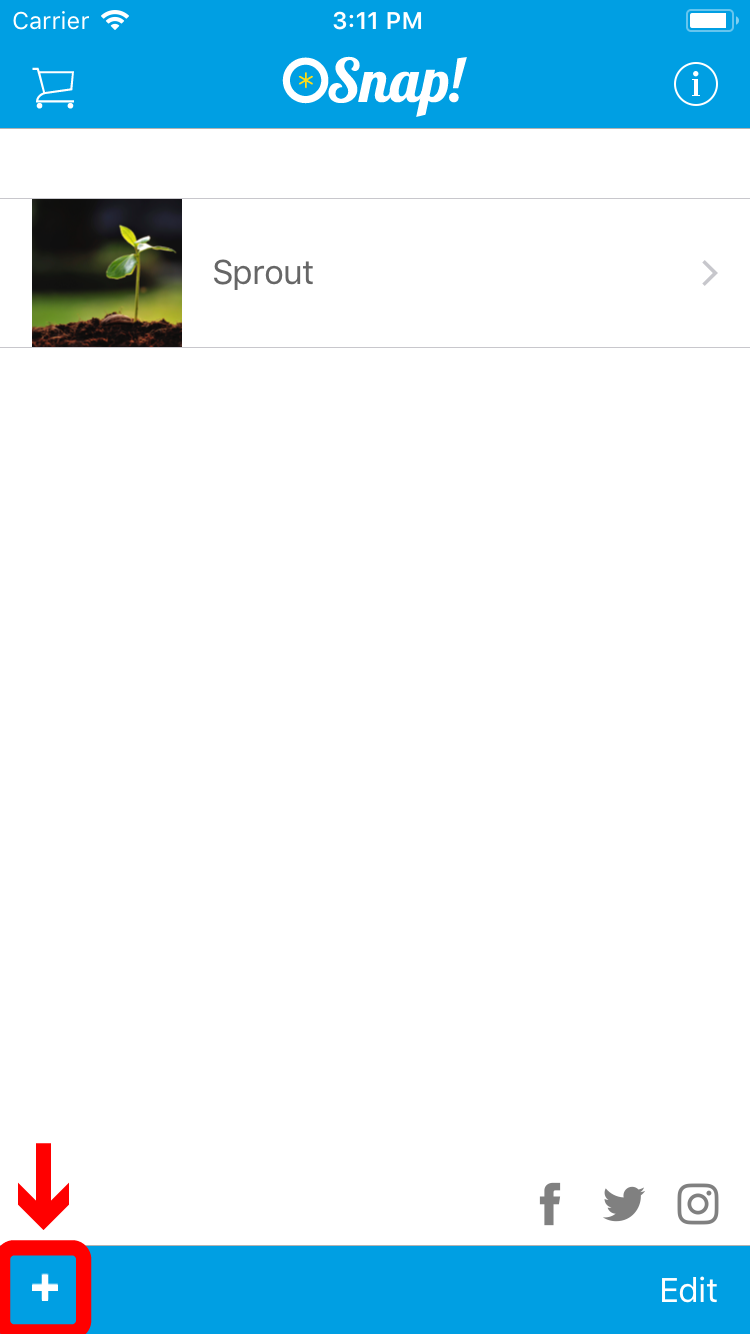
Step 1: Create a New Project
- From the home screen of OSnap!, tap the '+' icon in the bottom left
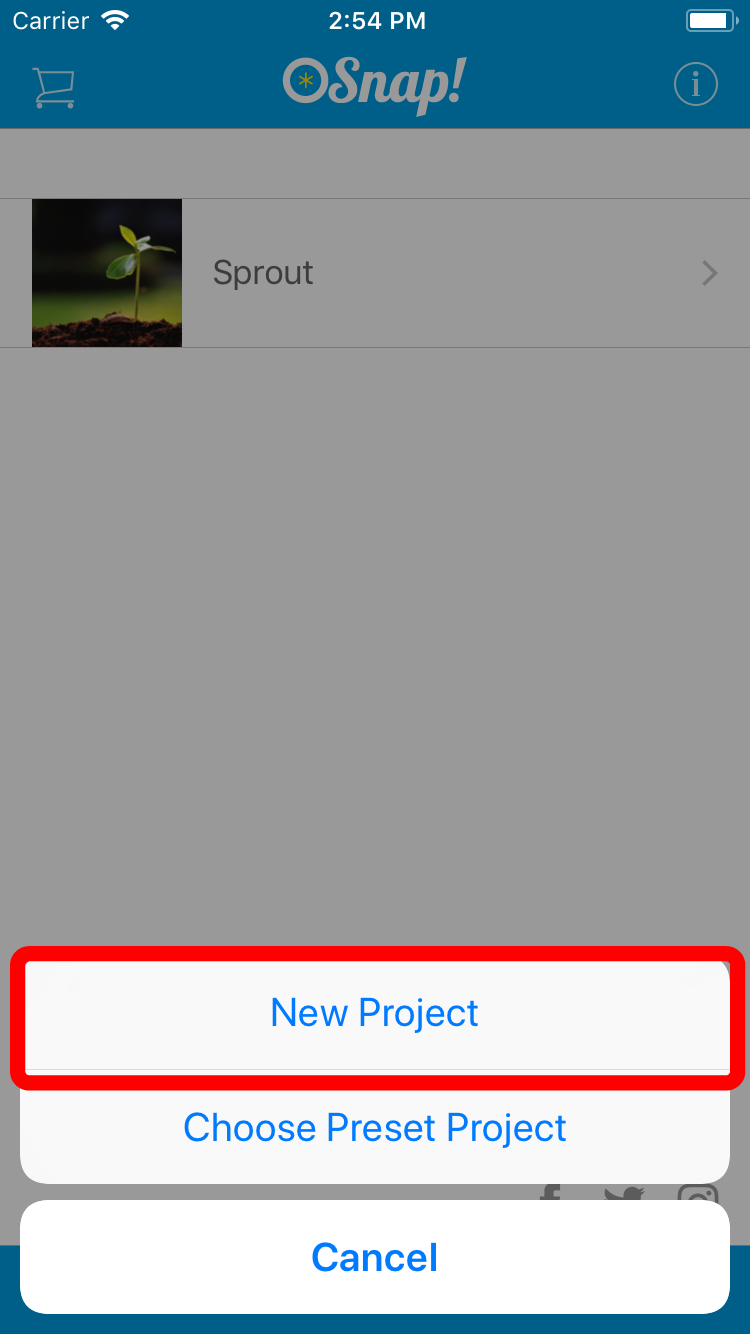
- A popup menu will appear: choose 'New Project'
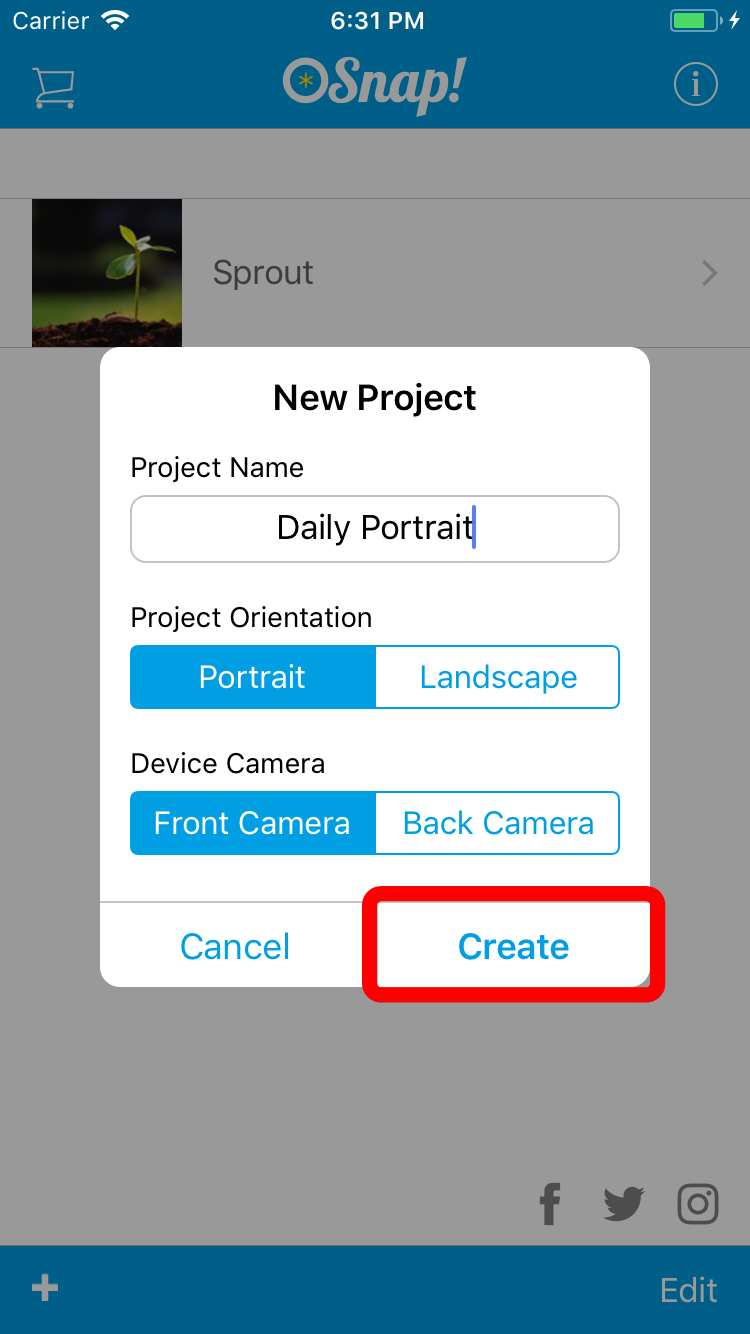
- A 'New Project' dialogue will appear asking you to enter your new project name. Let's call this project 'Daily Portrait'. For Project Orientation select 'Portrait' and for Device Camera select 'Front Camera'. After naming your project tap 'Create'
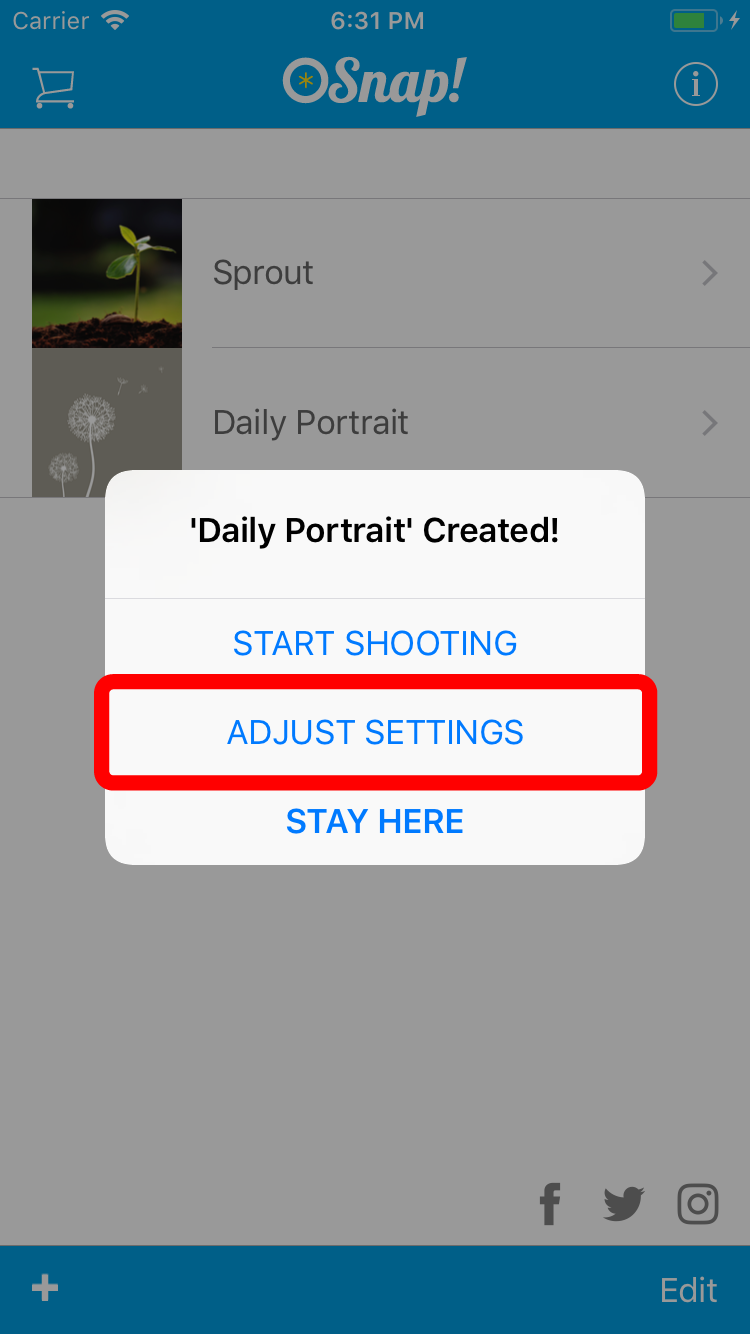
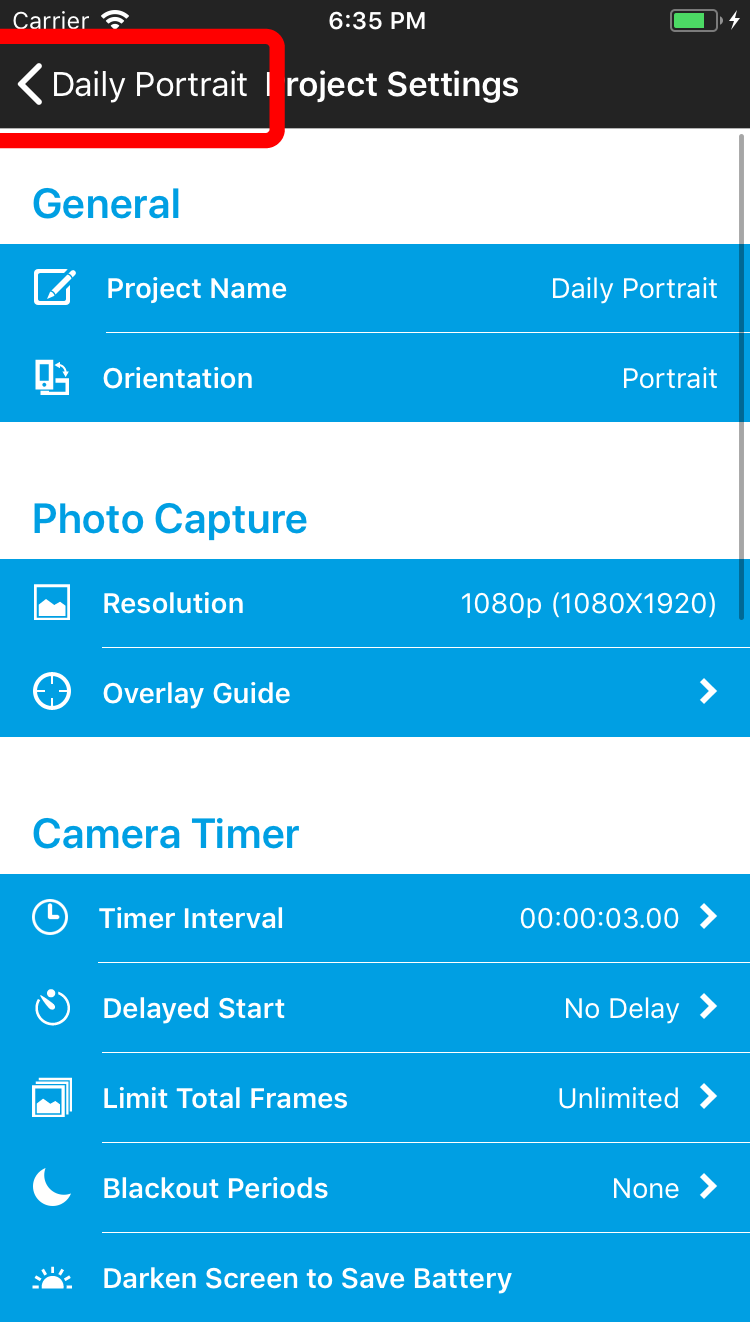
- A popup will appear letting you know you have successfully created the project. The first thing we want to do is set a reminder that will notify you at the same time each day so that you can always remember to snap your photos. Tap 'ADJUST SETTINGS'. You will be take directly to the Project Settings screen
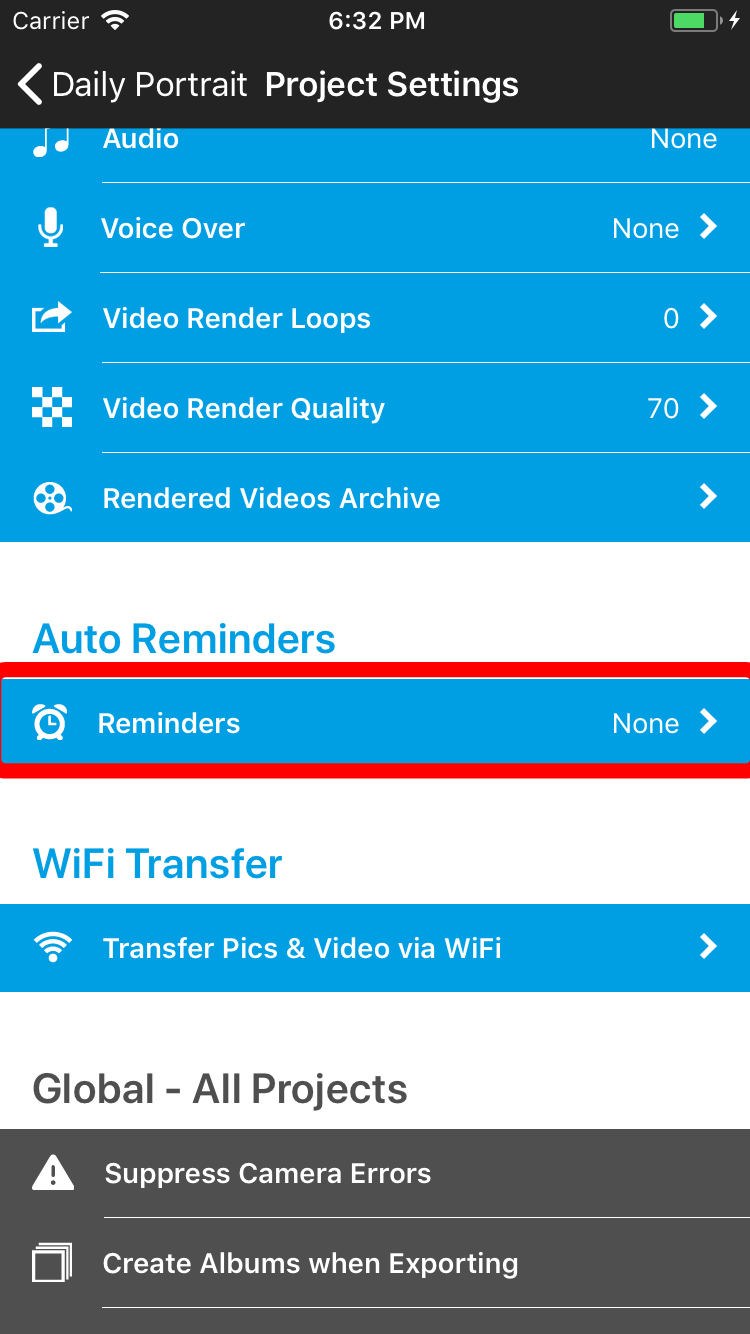
- From the Project Settings screen, scroll down until you find the section titled 'Auto Reminders'. Tap 'Reminders'. You will be taken to the 'Reminders' screen
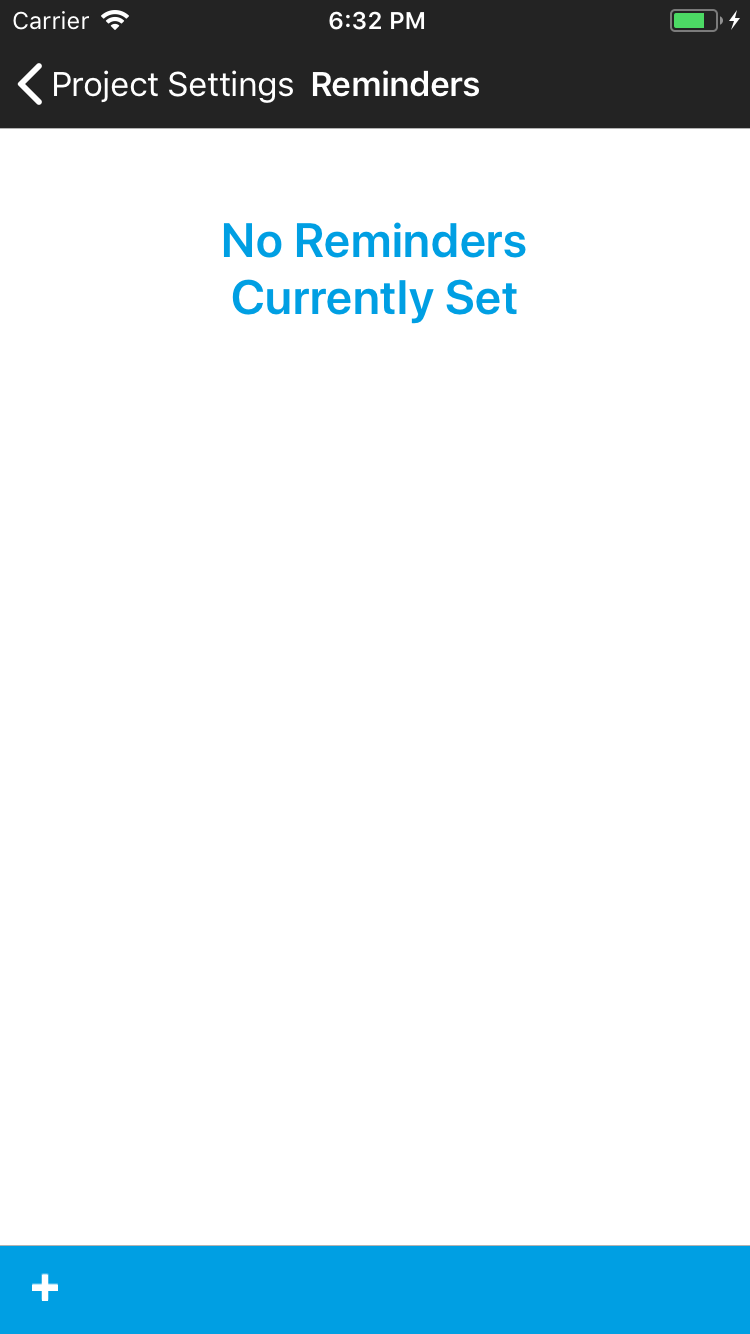
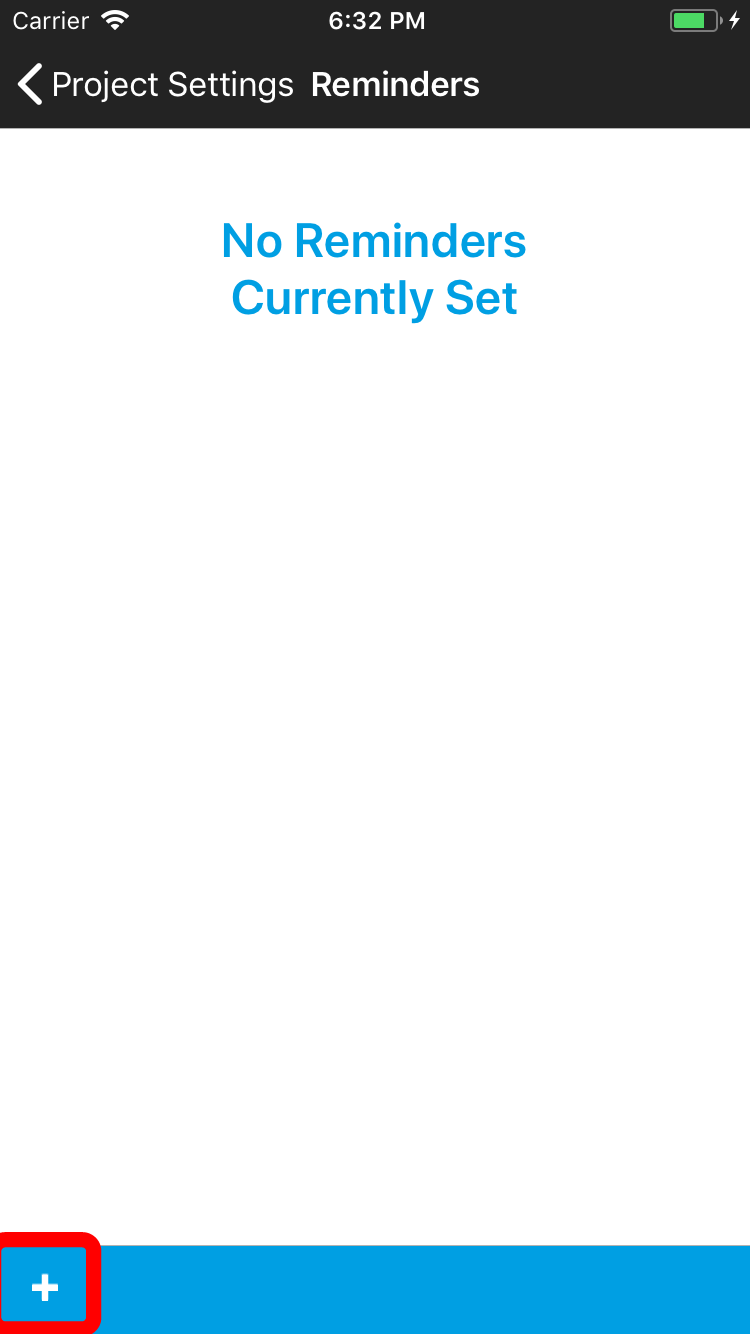
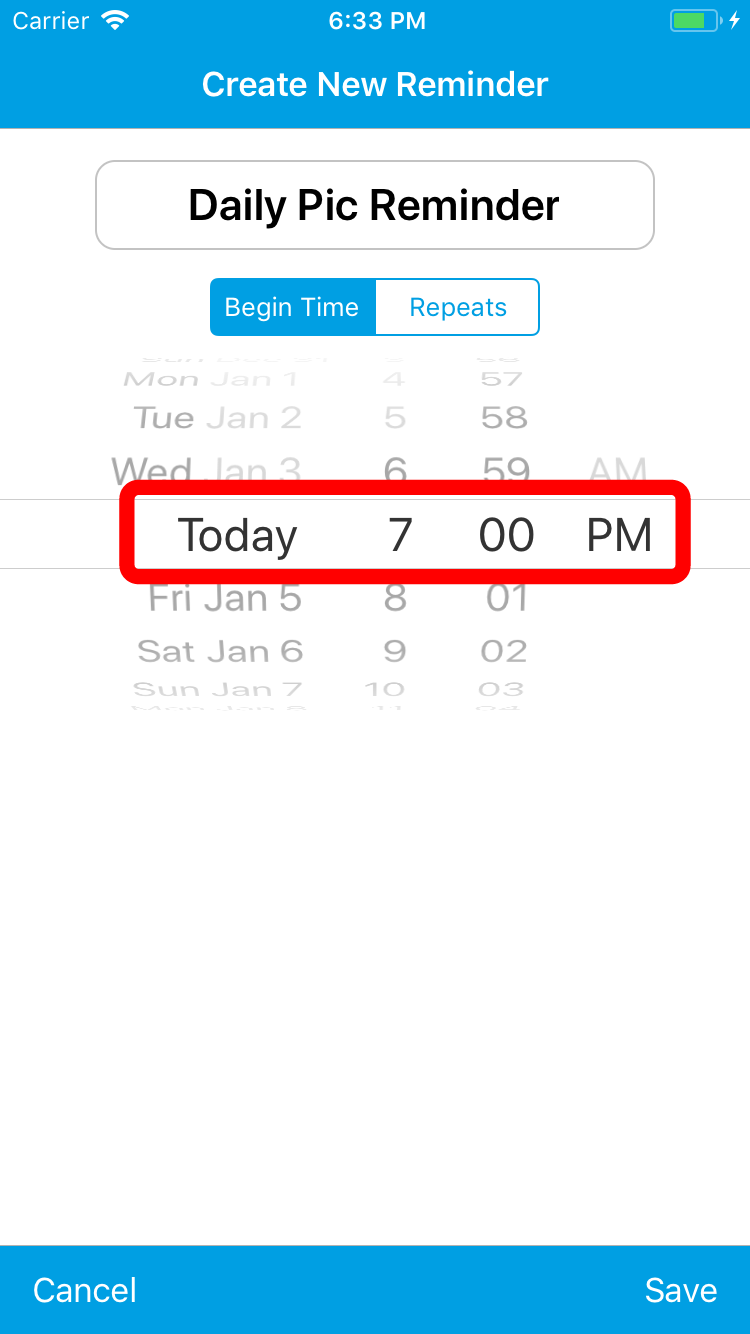
- Let's create a reminder by tapping the '+' icon in the lower left. A Create New Reminder screen appears. Let's name this reminder 'Daily Pic Reminder' by tapping inside the title box that reads 'Reminder 1'. Change the text to 'Daily Pic Reminder'. Now use the Date Picker to set the date and time of your first reminder.
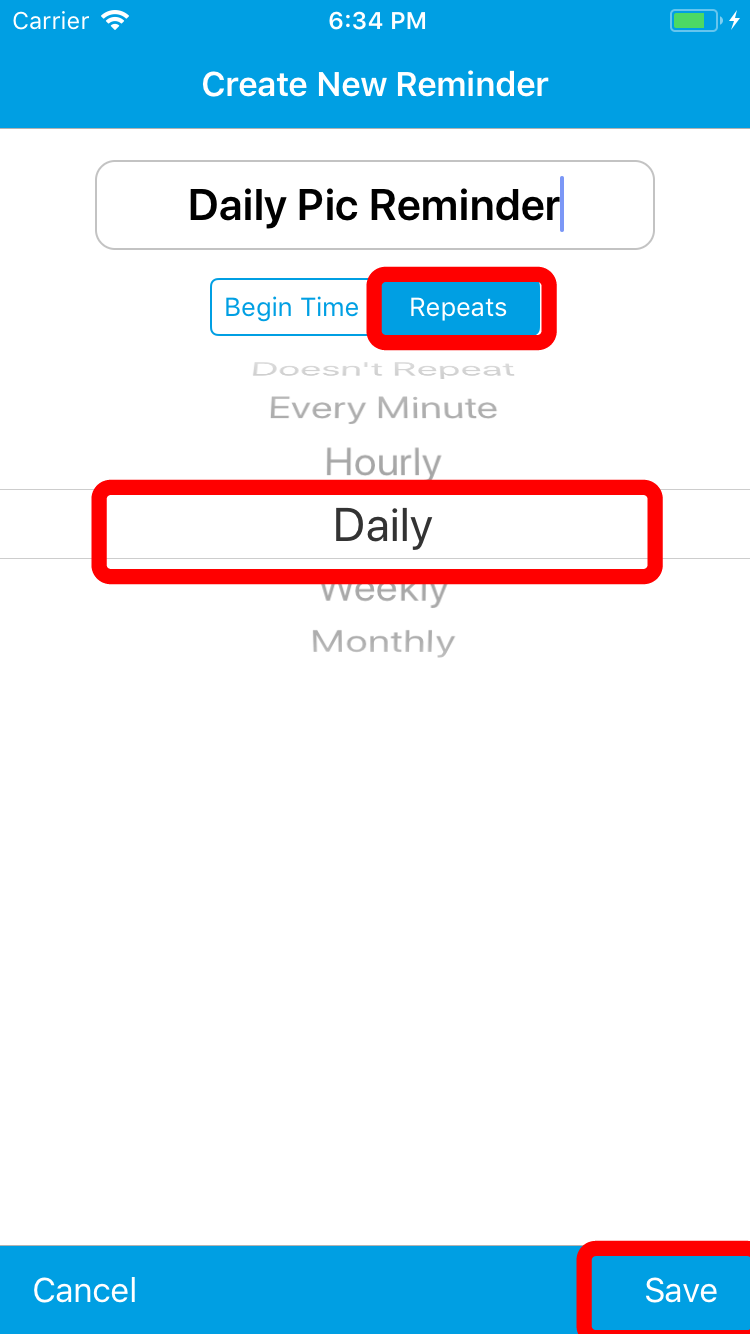
- We want this reminder to repeat each day, so tap the button that reads 'Repeats'. You are presented with a list of options. Choose 'Daily' .Tap 'Save' in the lower right
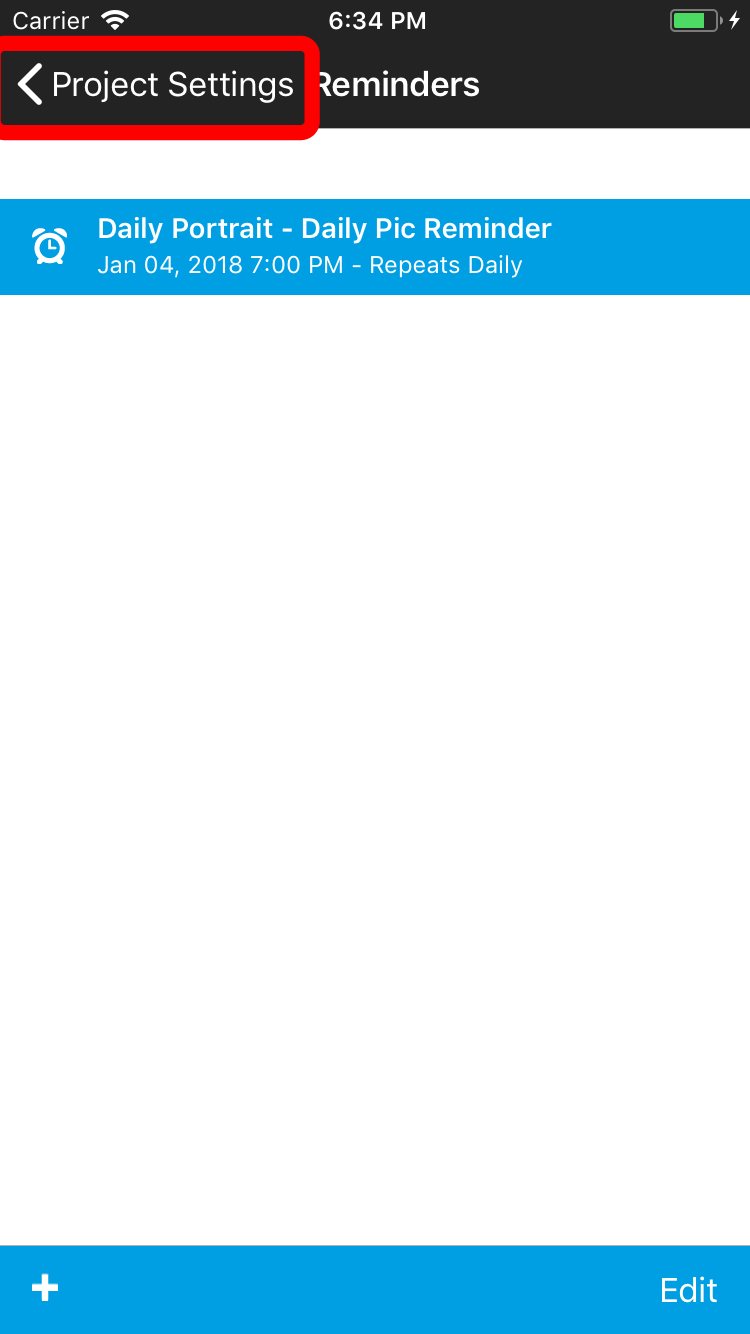
- You should now see your reminder listed in the 'Reminders' view. This reminder will send you a notification every 24 hours which will prompt you to take a photo. If you react to the reminder in a timely fashion and indicate that you would like to snap a photo, you will be taken directly to the the project's camera screen to snap your photo. We are done creating our reminder. Tap the 'Project Settings' navigation button in the upper left to return to the Project Settings screen
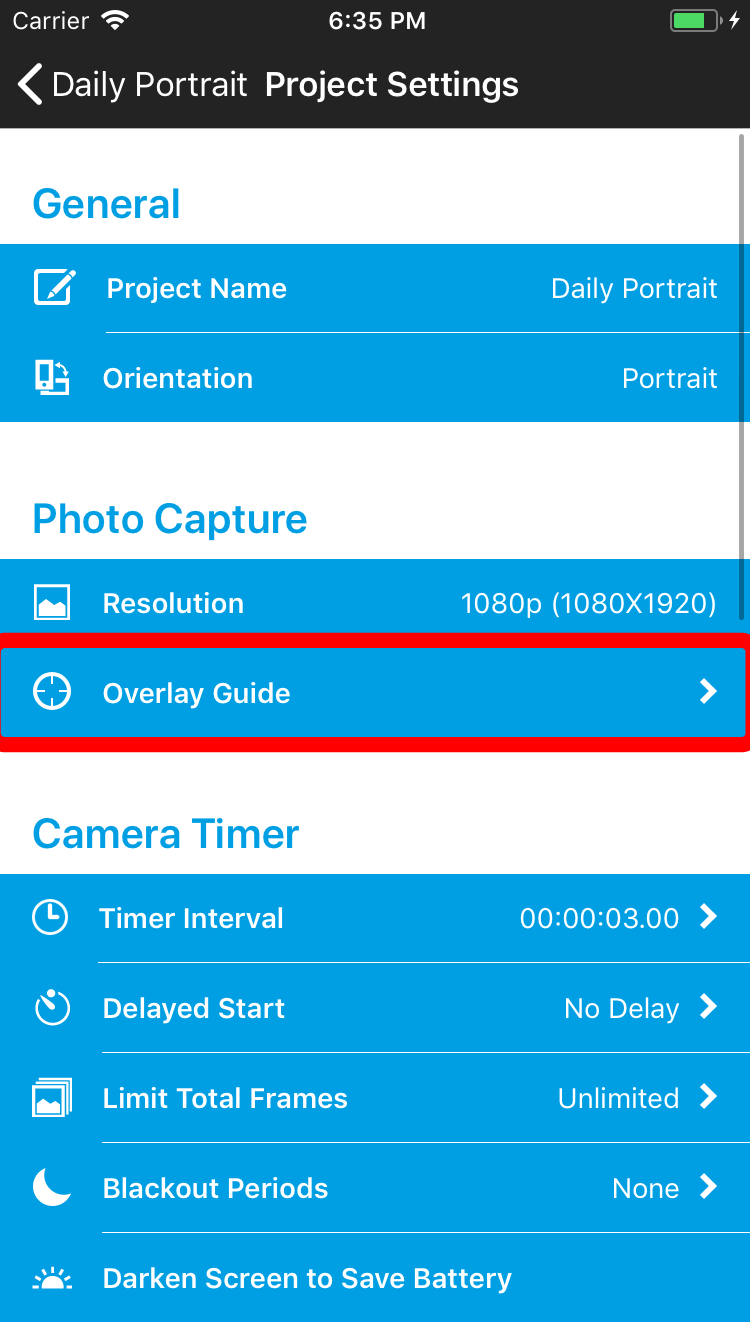
- Now let's set up your 'eyes' overlay guide to help you position your face in the same spot when you snap photos. The 'eyes' overlay is a feature that we custom designed specifically for this type of project, an overlay that makes OSnap! the best app on the market for portrait-a-day time-lapse projects (ahem, we like to think so anyway! :)). From the Project Setting screen, under 'Image Capture' choose 'Overlay Guide'. You will be taken to the Overlay Guides screen
- On the toolbar choose the 'eyes' icon. A pair of eyes will appear. Drag, pinch and rotate the eyes to align them with your own. Use the contextual toolbar icons to further refine your adjustments. When you have your face positioned exactly how you would like it to be for your photo sequence, and the 'eyes' overlay guide perfectly aligned with your own, tap the 'Back Arrow' button to return to Project Settings
- From Project Settings tap the upper left navigation button to move to your Project Summary screen. Configuration of your time-lapse project is now complete. Let's snap your first photo now. Tap 'Shoot' and you will be taken to your camera screen


Step 2: Shoot
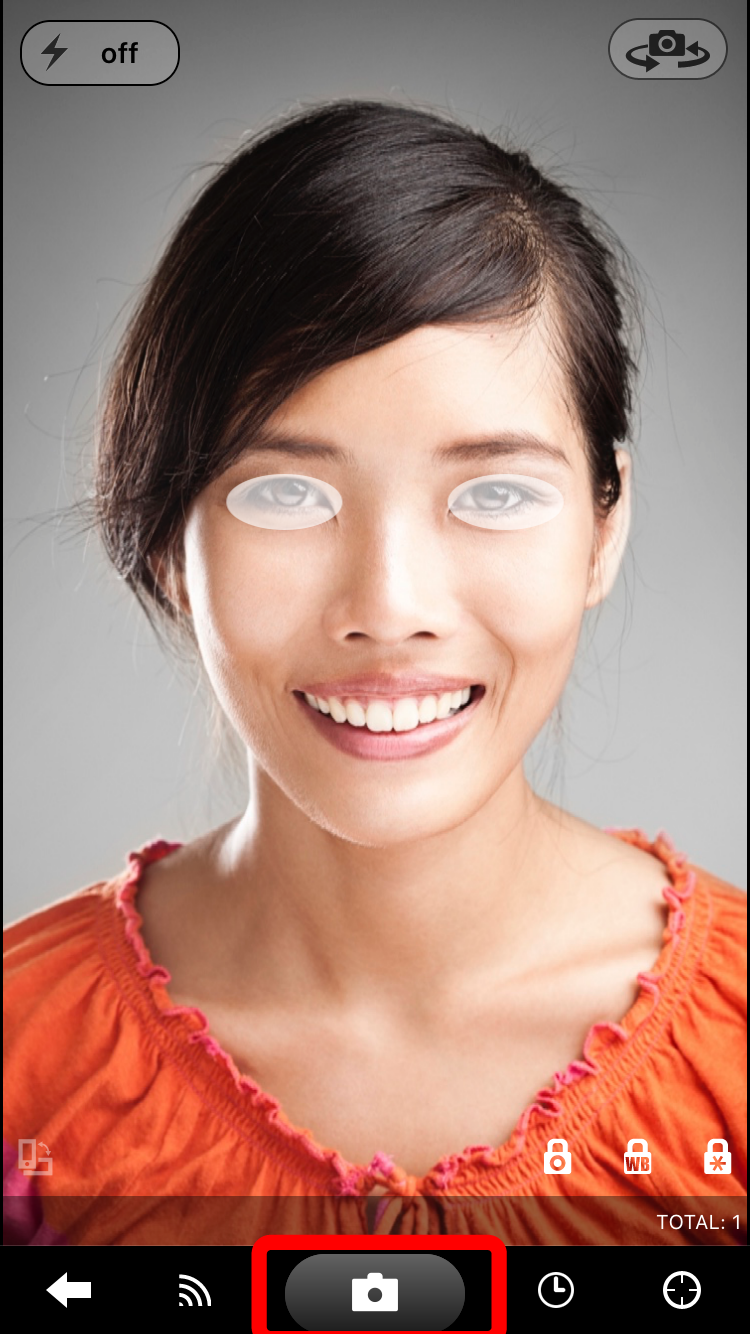
- On your camera screen notice that the 'eyes' overlay appears exactly as you set it during your prior adjustments. This customized 'eyes' overlay will always appear for this project when you take a picture so that you can properly align your eyes in each photo. Let's snap your first photo now! Position your face properly and tap the 'Camera' icon bottom center. Your device will snap a photo. Congratulations! You have now begun your 'Daily Self Portrait' time-lapse project! OSnap! will remind you ever 24 hours when it's time to take another picture!
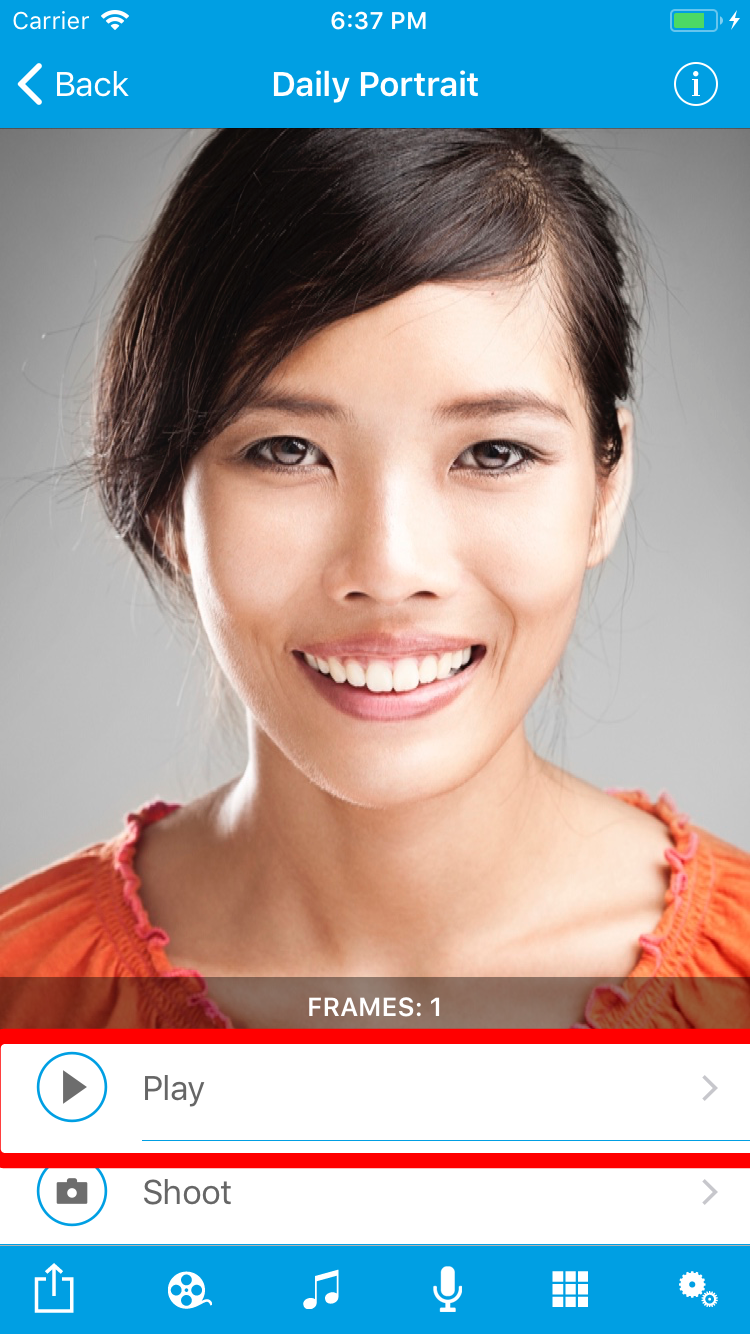
Step 3: Playback
You can playback your project at any time and view the progress you have made so far. Of course you will need to take more than one photo in order for anything interesting to happen, but for the purposes of this demo we will show you how to proceed to playback...again playing your time-lapse with only one photo is not recommended...nothing interesting will happen.
- From the Project Summary screen tap 'Play'. You are taken to the Playback screen where your time-lapse sequence will immediately begin playback.